The Video Editing Process at a Glance
Video editing is where everything comes together, but there is much more going on behind the scenes than one might first think.
Scrolling through LinkedIn I often see posts about exciting video shoots that have just wrapped. Now we all love a good behind the scenes pic, but no one ever seems to talk about the other side of the production process: editing! While it may not be as visually appealing or glamourous to some, it’s actually an incredibly important part of making a successful video, and usually where a huge amount of the work is! So, if you’ve ever wondered what goes on in turning your gorgeous footage into an engaging web video, in this post I’ll give a brief overview of my editing process step-by-step in, I promise, not-too-techie speak!
It’s important to note that - at least in my world - no two client projects are the same. This means that there can be differing workflows between projects, so I’ve intended for this to be a very basic guide. What happens in the making of your video may not suit someone else..and another editor may work differently to me! So, I wouldn’t stick to these steps too rigidly, but hopefully they paint enough of a picture so you can see how a project could be approached.
Ultimately, with an improved understanding of the editing process, you’ll be able to learn what can and can’t be done in various timeframes and why us editors sometimes say the things we do. The result will hopefully allow for better videos and more efficient turnarounds for you!
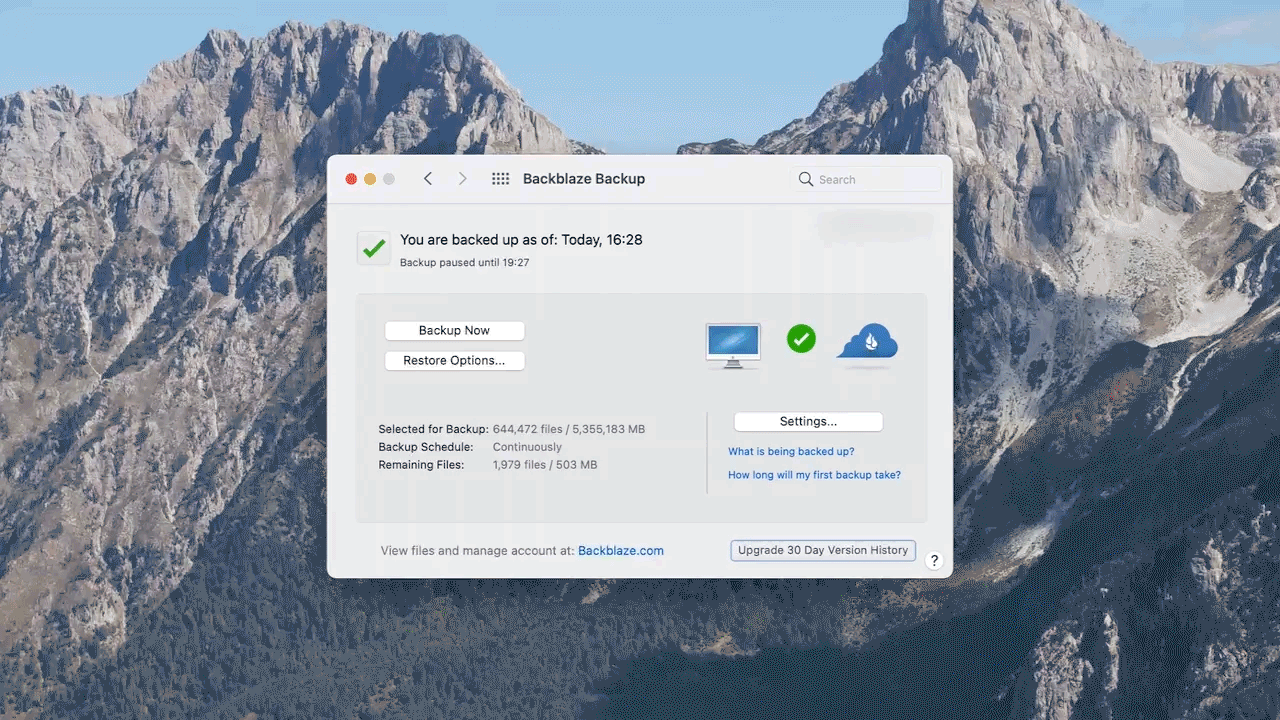
Backing up footage & organising project
First things first, everything gets backed up into more than one place, just in case. Hard drives fail eventually, so this ensures your footage is safe. Depending on the format that it’s been shot in it may require transcoding into a format that’s ‘edit friendly’ or lower resolution (temporarily) when dealing with 4K or higher resolution footage, as these files can lag on some computers.
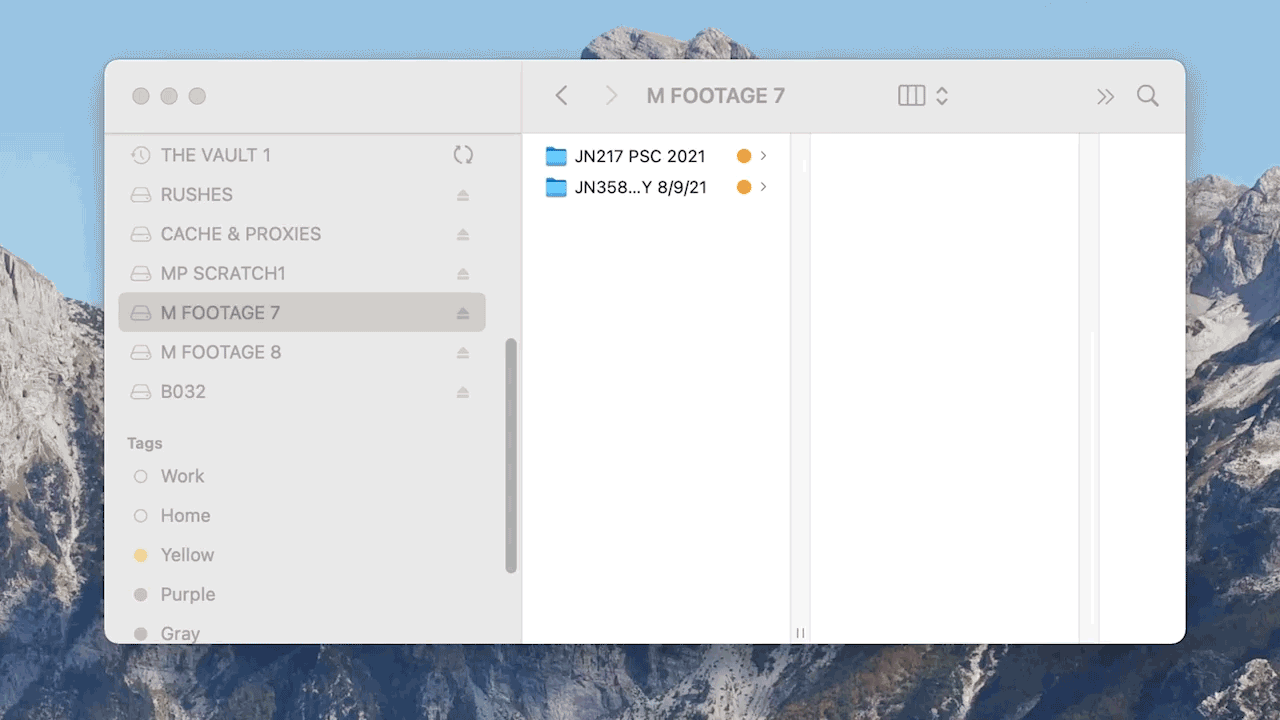
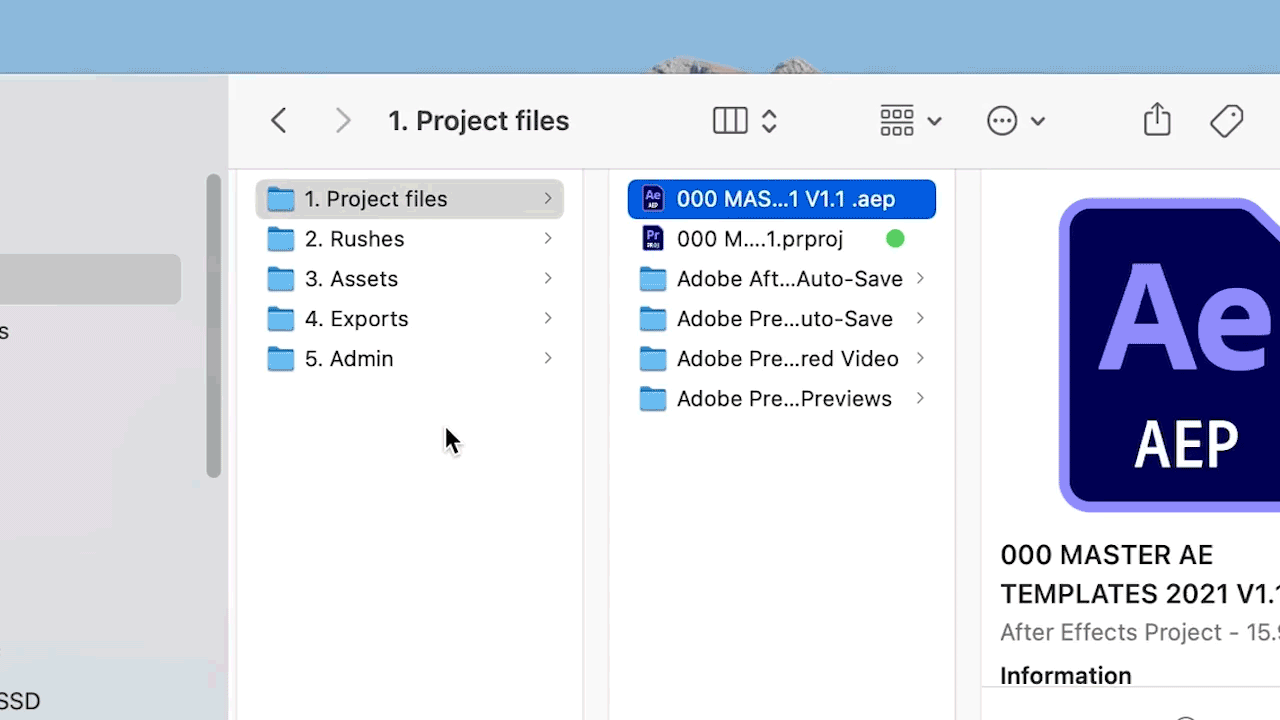
All files associated with a project are organised neatly into folders. This is especially important if multiple editors may be working on a project.

Once the footage is ready for edit it is organised into various folders or ‘bins’. For instance, separating all the interviews from the b-roll footage (anything that can be overlayed to hide the cuts) and going even deeper with subfolders/bins if there’s a lot of footage. Staying organised is crucial at this point, otherwise it can get a bit messy later on!
2. Reviewing interviews & identifying suitable b-roll
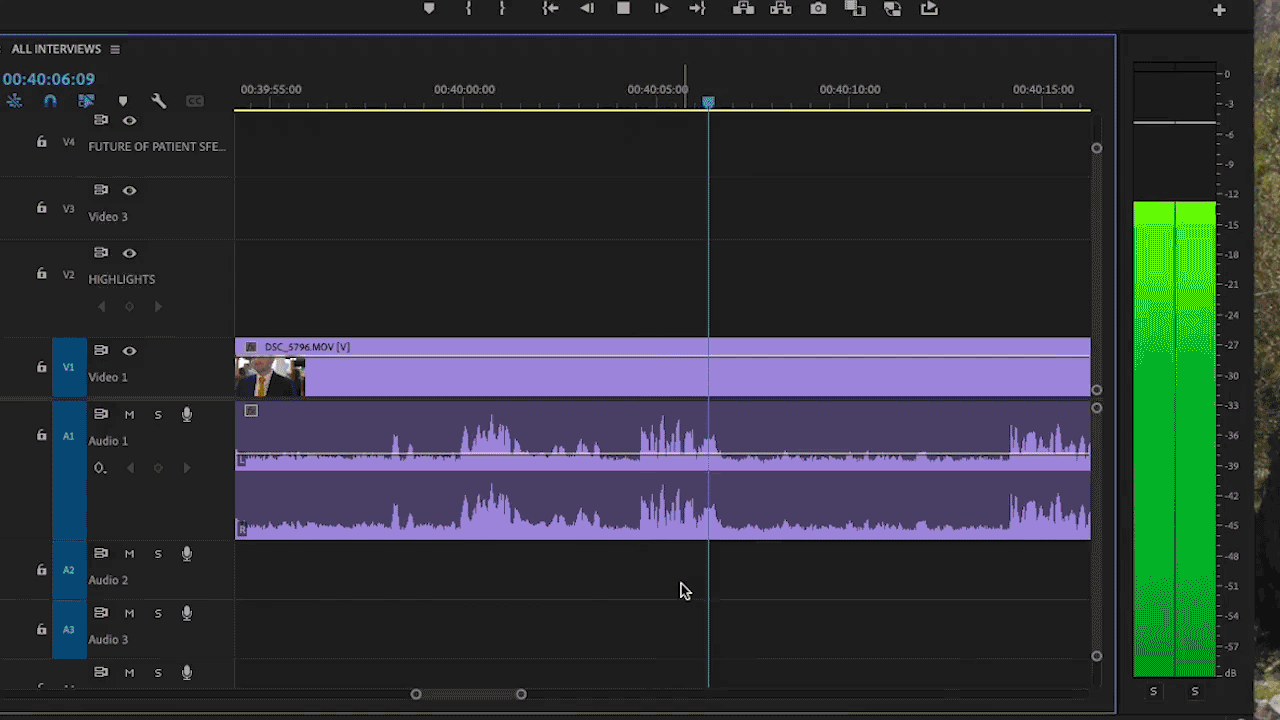
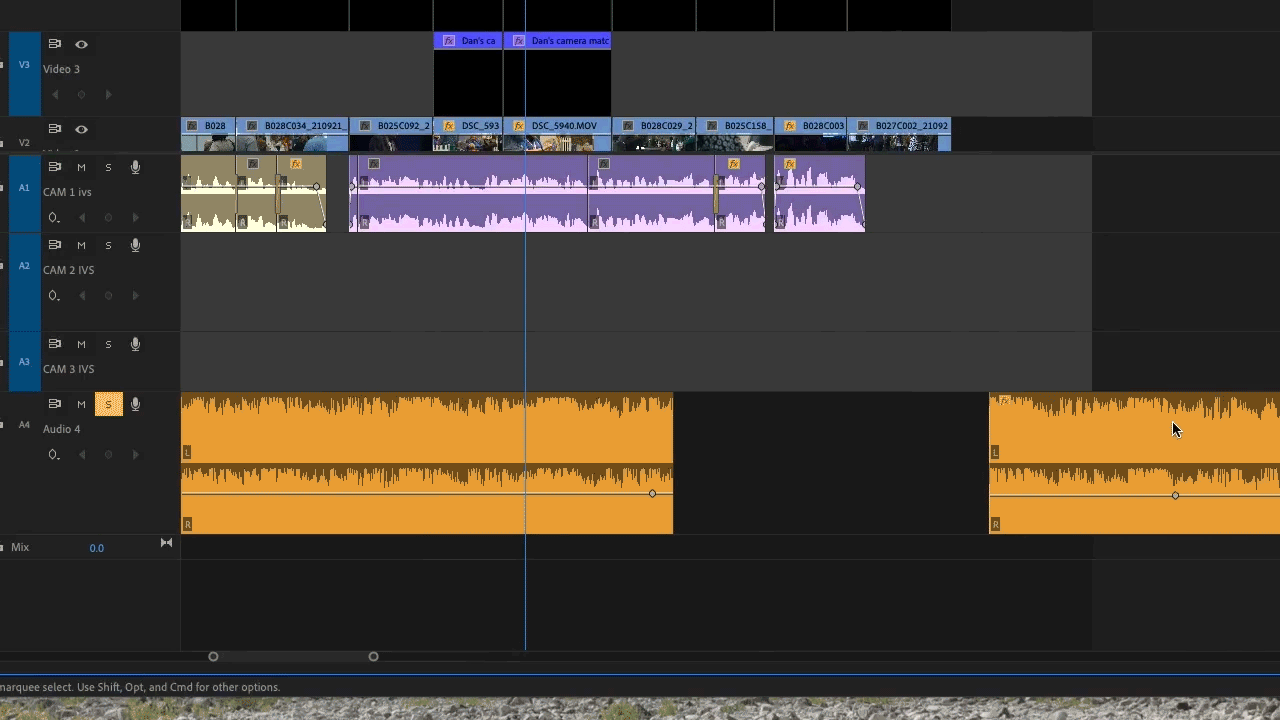
Before any editing can take place, we need to review what we have to work with. This is a much quicker process if I’ve shot the footage myself, but still very important for efficiency and becoming familiar with the footage, regardless. However the narrative has been captured, whether in interview, scripted piece to camera or voice over format, I would firstly put all of this material on one timeline so I can see everything. I would then go through this footage and identify the usable sections.
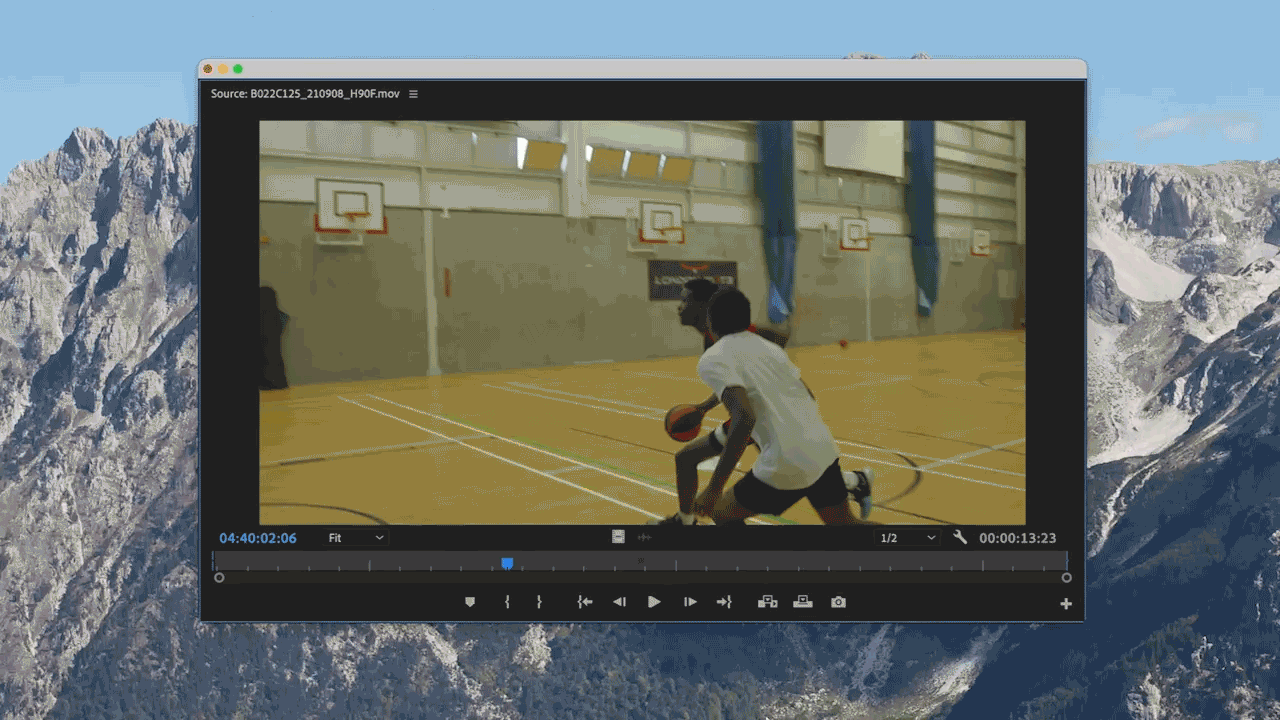
Then I’d move onto the b-roll - going through all this footage and placing markers on usable sections.
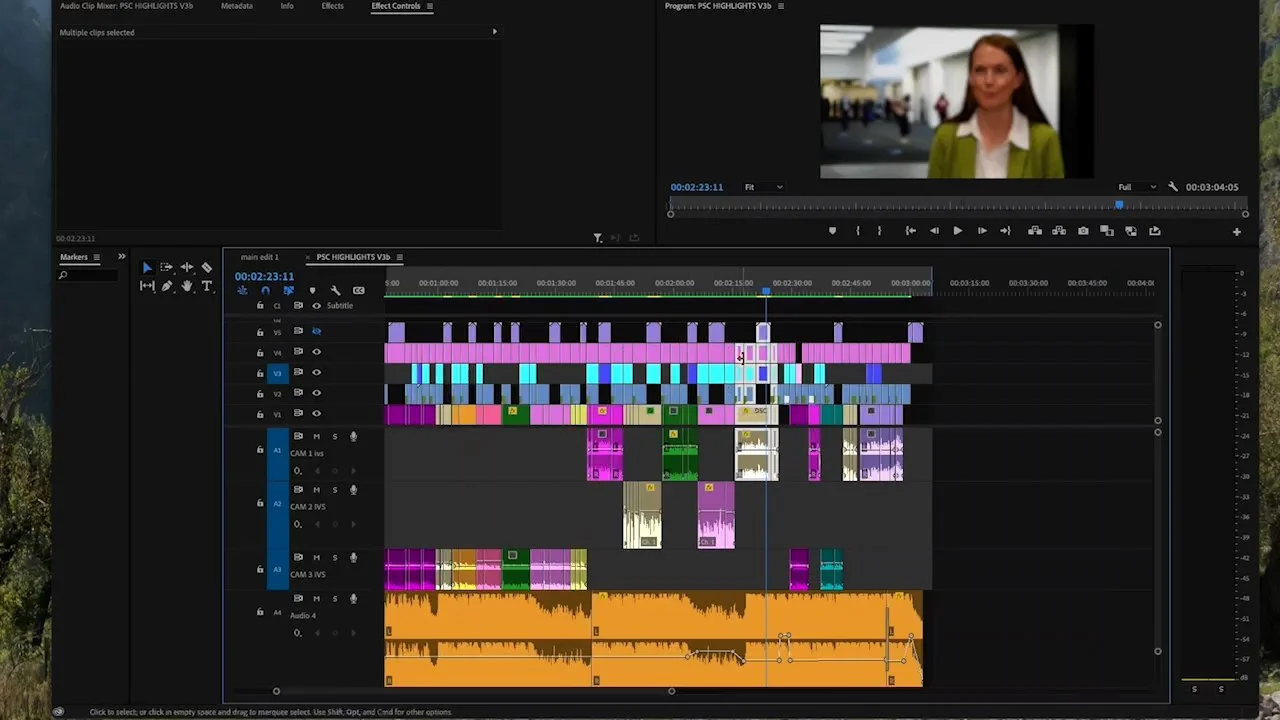
3. Structuring the narrative
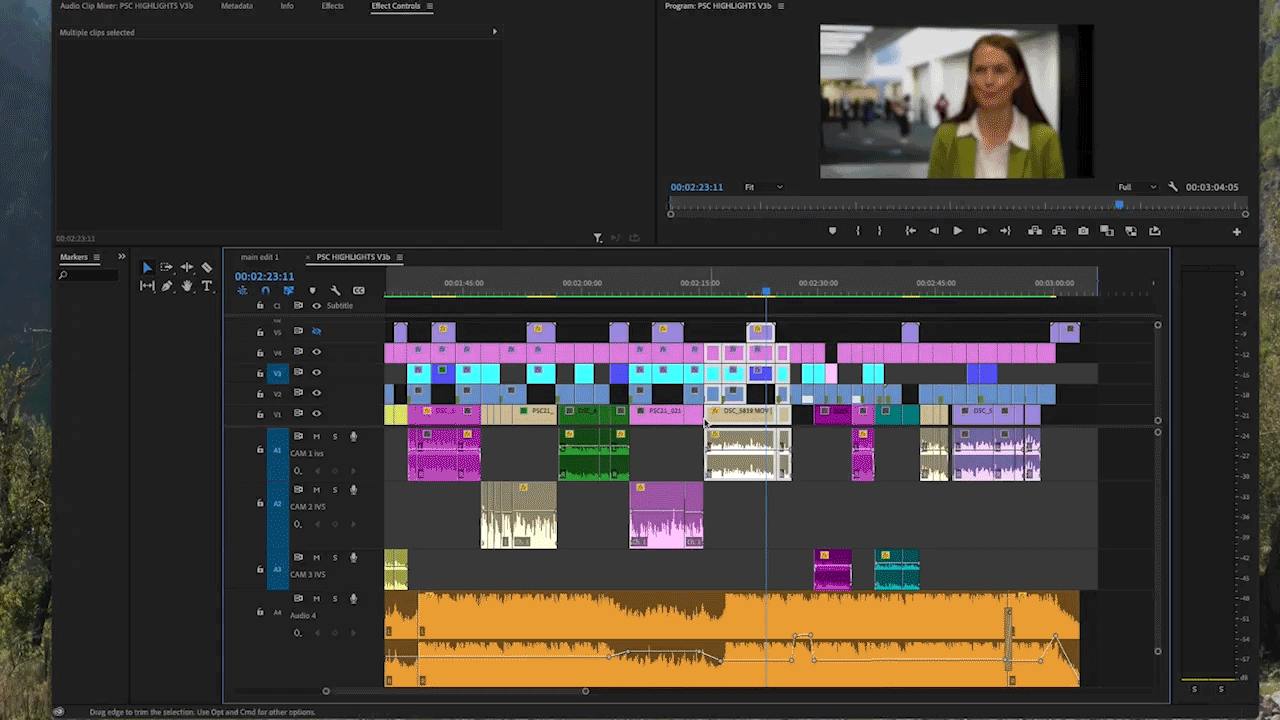
Once I’ve scanned through all the footage, it’s time to get to the nitty gritty of it: structuring the narrative. This takes place on a new timeline and for scripted material it is simply a matter of finding the best takes and slotting them into the correct place. However, for unscripted material this can easily be the most time-consuming section of the whole process. Taking the best of the interviews and putting them in a logical and interesting order to engage the viewer, recognising the need for a beginning, middle and end! Often there is a lot of experimentation here and gaps in the audio can be used to create a bit of breathing room, especially when the topic changes. At this point I’ll find out if subjects answered their questions with enough context, which I talk about in more detail in preparing for your video interview.
4. Filling the gaps with b-roll & tightening up for good pacing

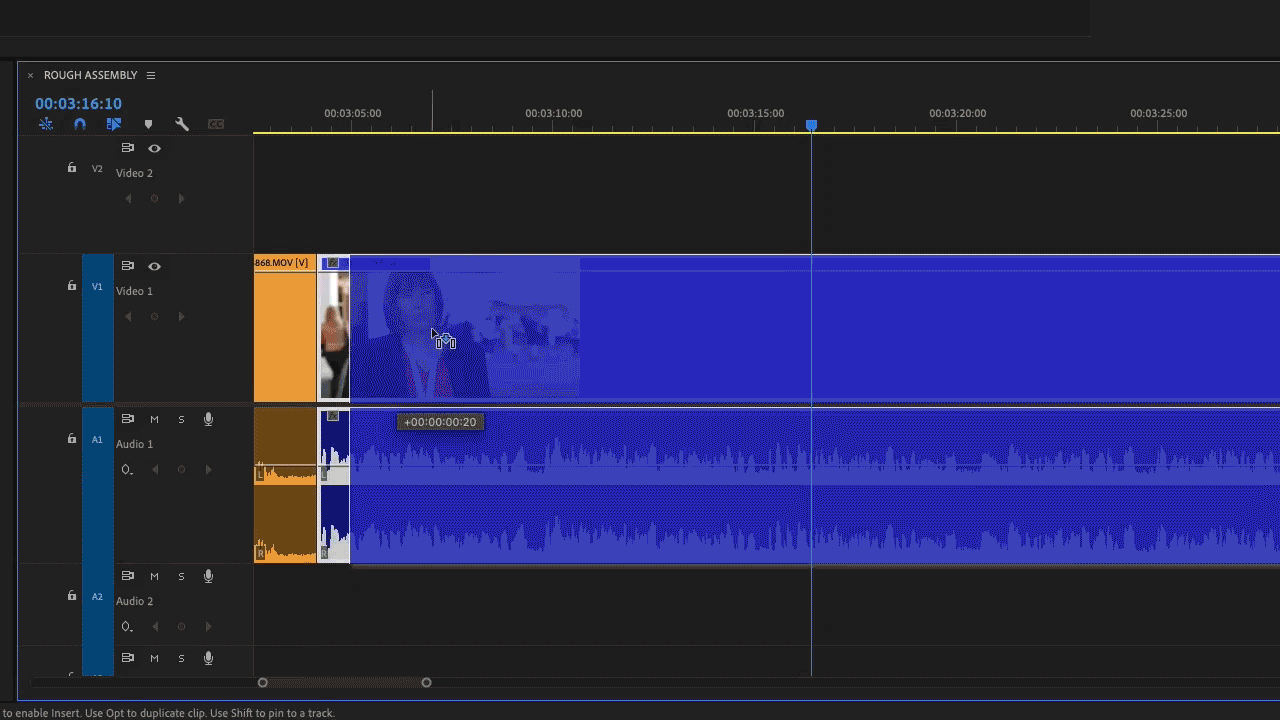
With the narrative roughly worked out, it’s now time to start trimming the fat with the use of b-roll. This is used to hide the cuts in the interviews, and depending on how confident a speaker was, there could either be a little or a lot to hide! For talking heads, I aim to find a minimum of 2-3 seconds to show someone on screen without cutting, so we can add their name and job title later on.
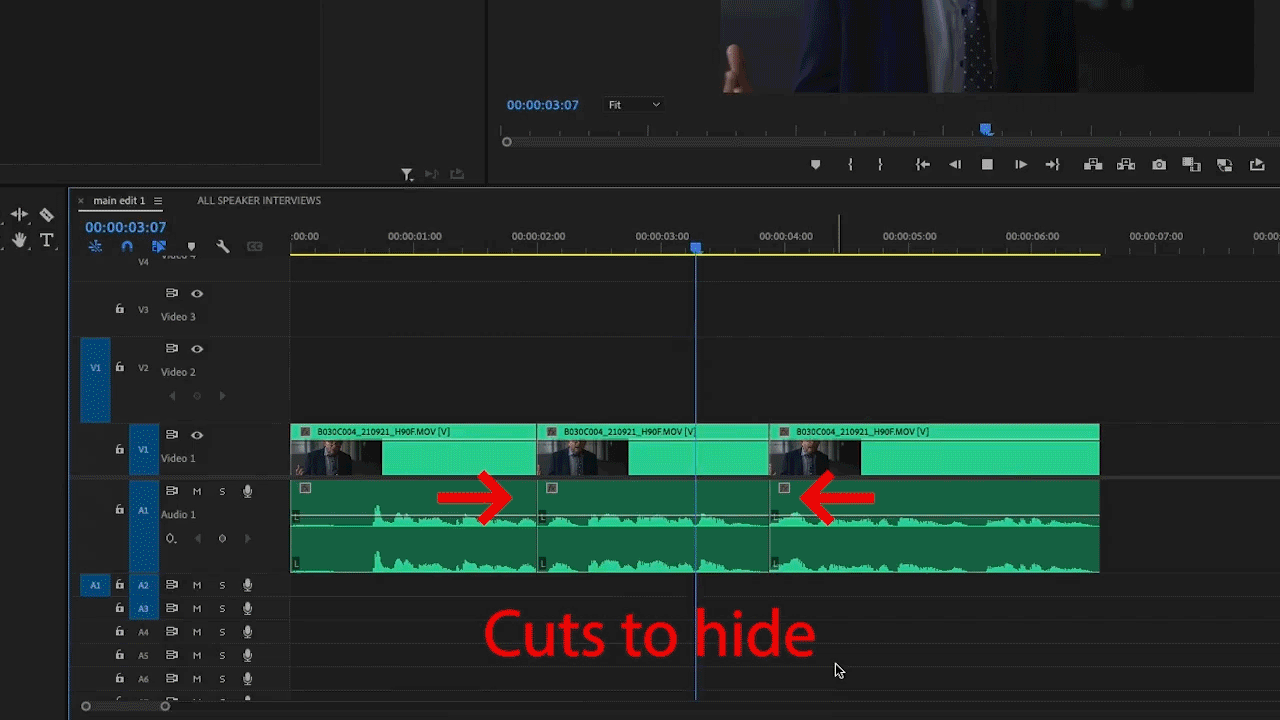
By adding b-roll at this stage you’re able to trim the content down further, looking for more efficient ways of getting the key information across, but always ensuring that what they’re saying makes sense. It also starts to get quite creative, choosing the best bits of b-roll and intercutting between various angles in the most effective way possible.
5. Colour correction & grading
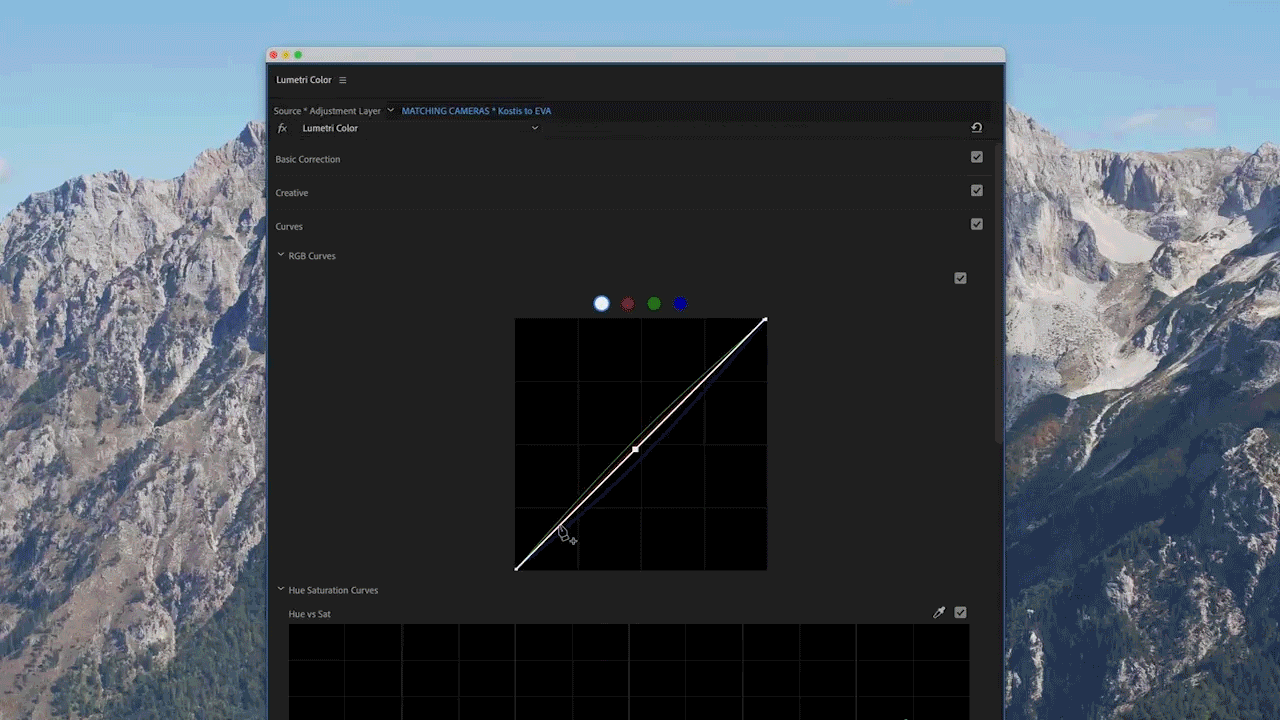
With the video looking pretty good, it can be tempting to stop here and consider version 1 ready, but this is not the case. There is more work to do! Colour correction and grading are two different, but closely related tasks. Correction is the process of fixing errors in the colour that might otherwise be unflattering to the viewer, an example being in an event setting where the camera operator doesn’t have control of the lighting. Another use for this is to match 2 separate cameras that have slightly different looks, as it can be jarring when uncorrected footage is used from different cameras.
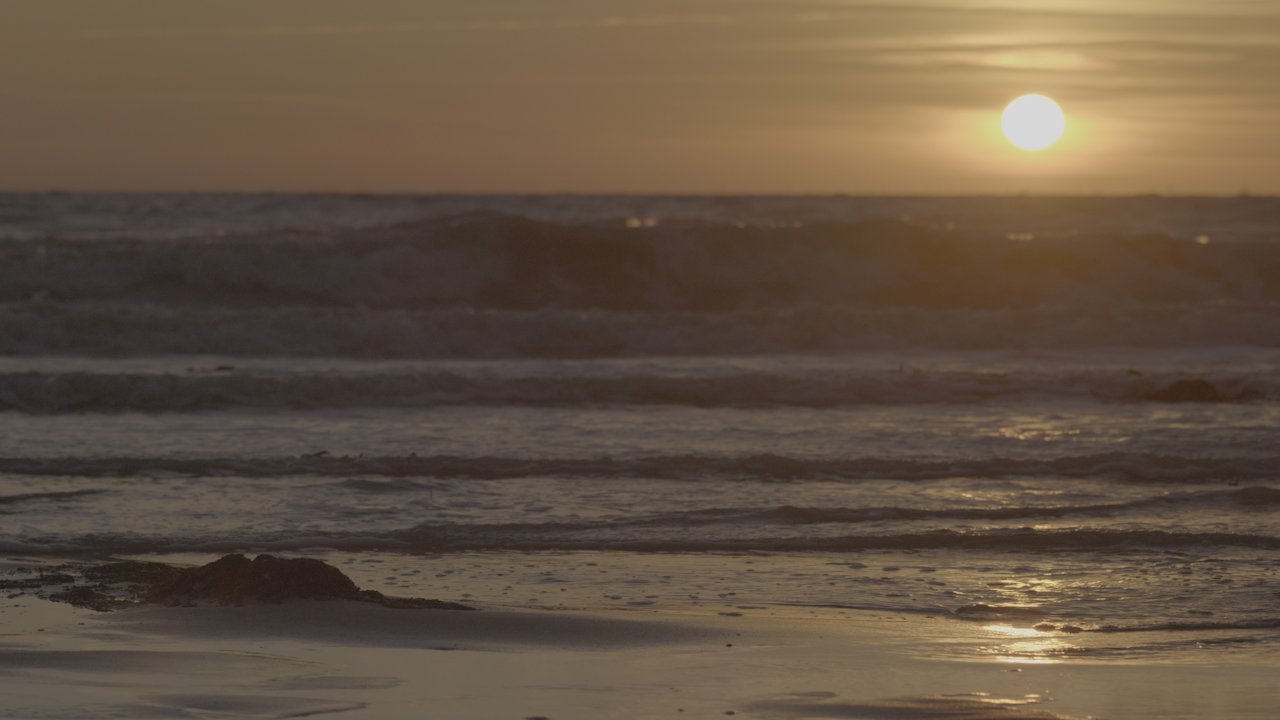
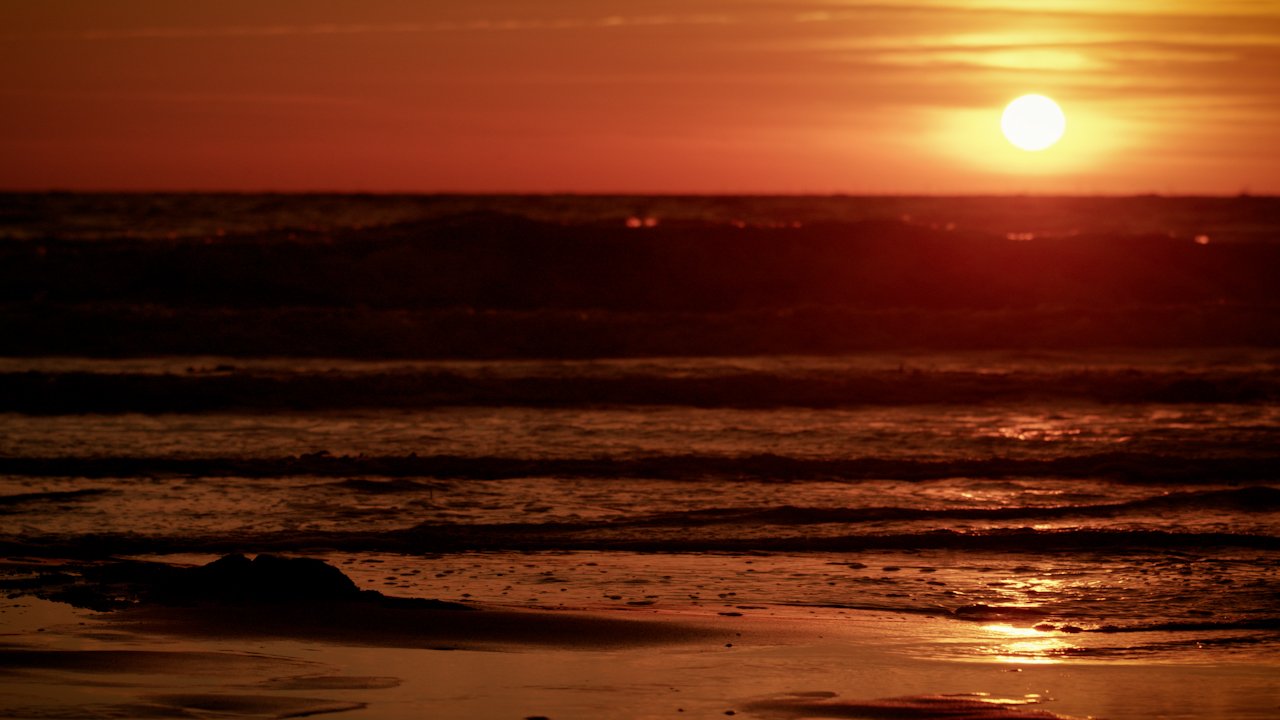
Colour grading however, is the process of creating a suitable look for the video, and the amount of time spent on this varies between projects greatly. This is what I’d call the ‘enhancing’ stage. It can involve using colours to create atmosphere, or to accent certain colours in the image to evoke emotion. You can also add stylish vignettes, either in black or white, which can draw the viewers’ attention to key areas of the image. Done well and in the appropriate setting, this can make videos look much more cinematic, if that’s the look you want!
6. Sourcing music and mixing the sound
OK, I’ll admit..sometimes I add music at step 3, especially if an edit is cut to music! But either way, at this stage the audio levels need to be mixed appropriately and certain enhancements and corrections can be made to make the video as easy to listen to as it is to watch.
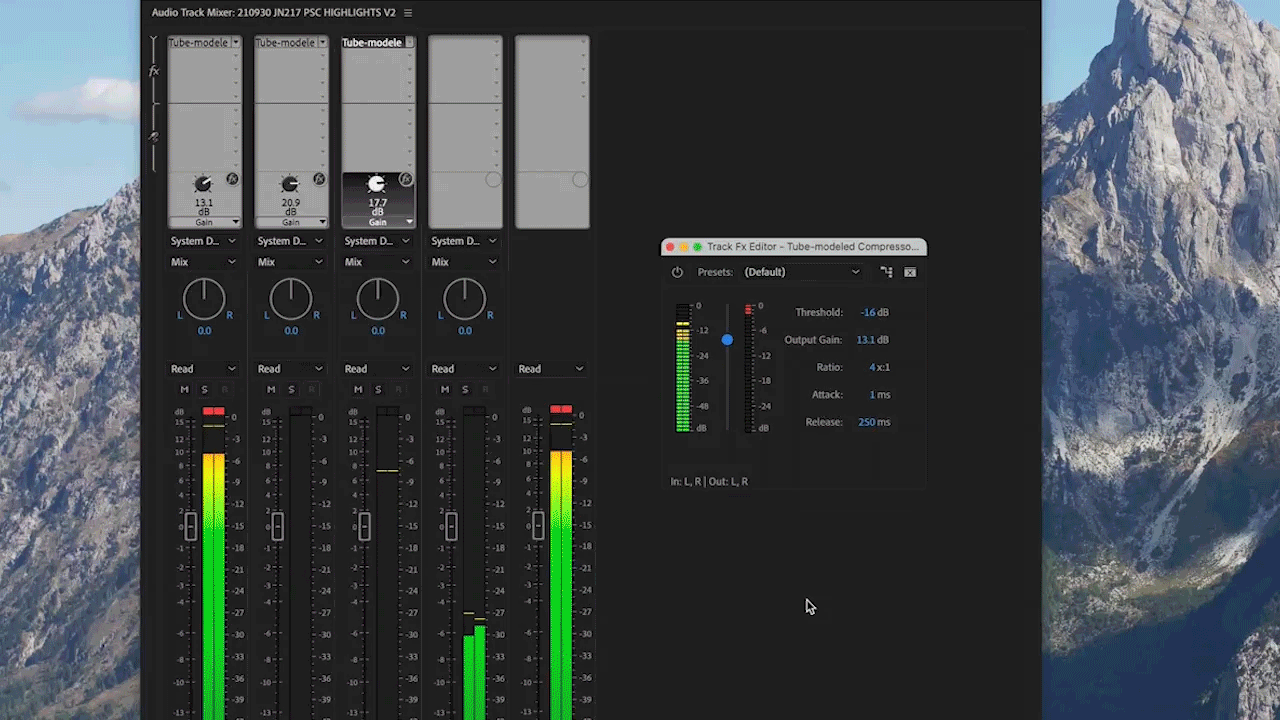
Some voices might need EQ (adding or removing bass, middle or treble) or there could be some unwanted noise that needs removing (where possible). Generally, a bit of compression (making the quiet bits louder and the loudest bits quieter) goes a long way. Smooth fades can also make cuts seem less jarring.
Royalty-free library music tracks are then added, but they rarely fit a video’s duration perfectly. They often have sections that fit certain parts of the video better than others, so they usually need to be chopped up, looped and faded for seamless transition.
7. Adding graphics i.e. lower thirds & titles
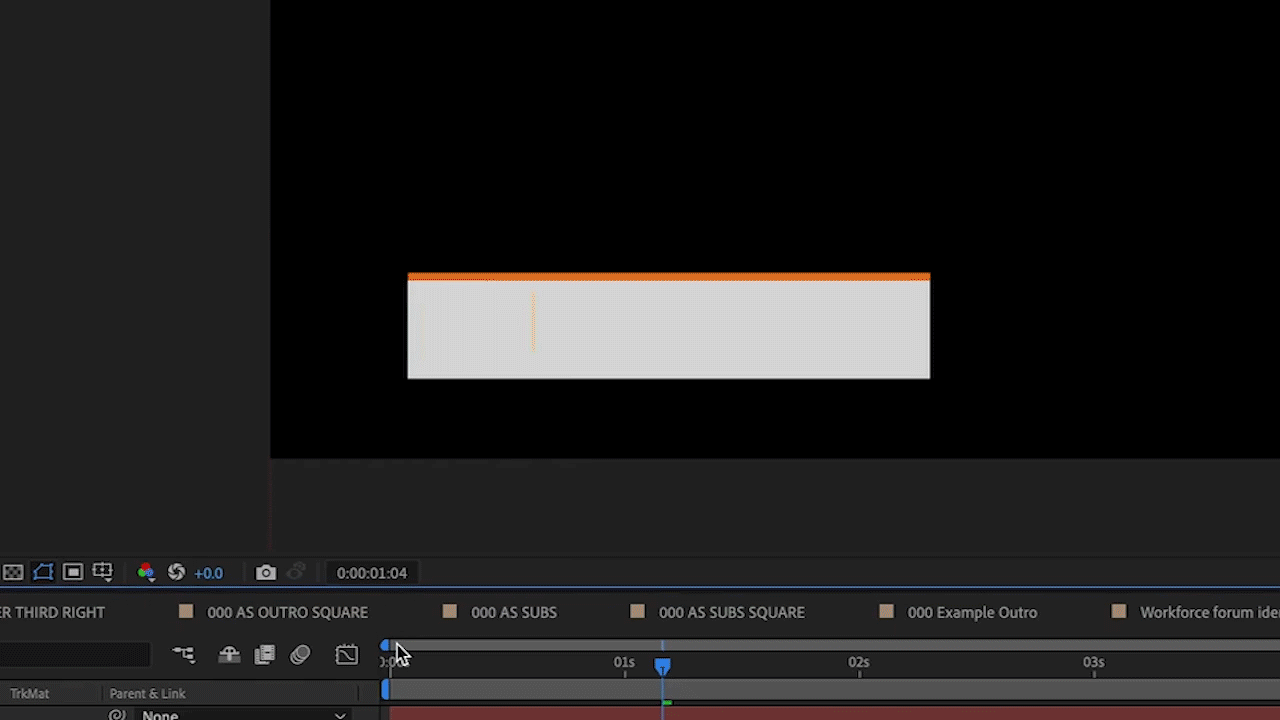
Unless the core of the edit is motion graphics heavy, titles and lower thirds (names, job titles & organisations of interviewees) are the final thing to add. Logos and other visual assets will usually be requested of you, along with your company’s brand guidelines so any additional text or animation, such as infographics, remain consistent and in line with your brand. Some clients prefer to provide their own logo animations that have been created elsewhere.
Motion graphics can be an extremely detailed and complex topic, and there are many freelancers out there who do this and nothing else! In my case, I’m an editor who makes graphics, but don’t consider myself a motion designer.
8. First cut ready! Private link sent to client
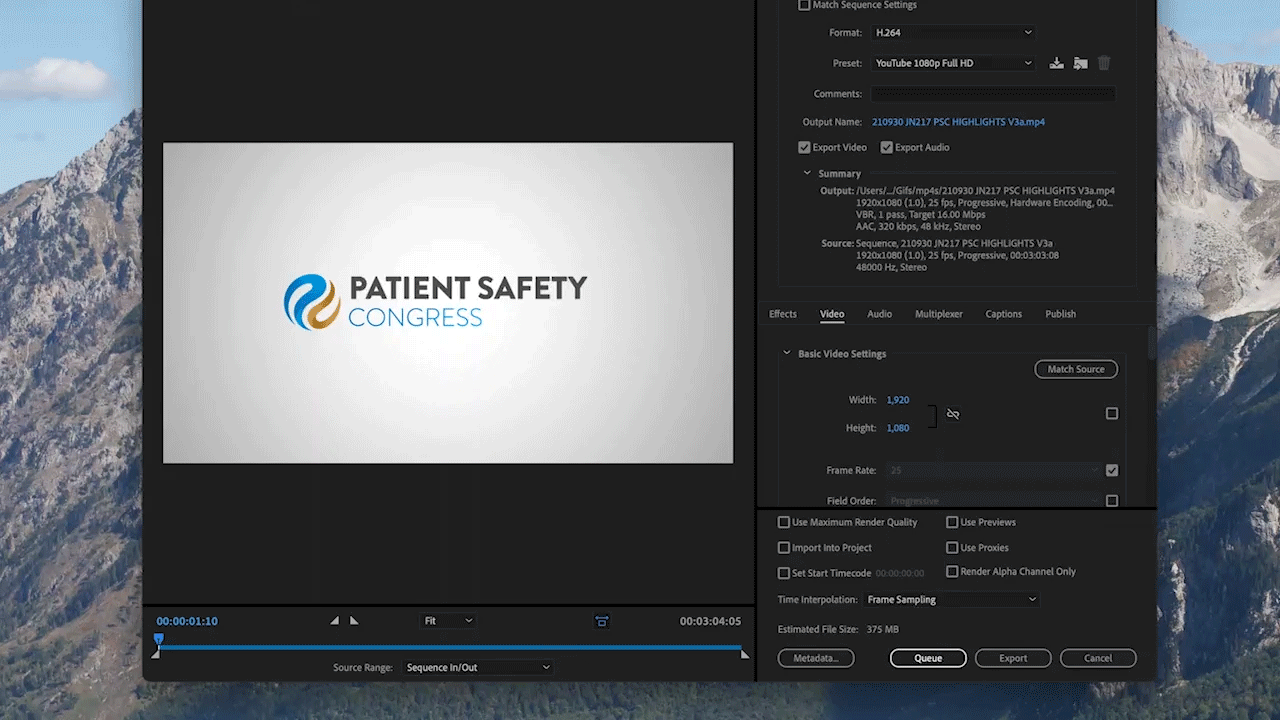
Once everything is in place and I’ve played it through several times to check everything works, it’s time to export the video (the process of compressing everything in the editing program down to a physical file that you can play on a device). Depending on the length of the video, the output resolution and the number of effects applied to clips, this can take anything from a few seconds to several hours. In general, for HD web content under 5 minutes in length, a few minutes is all this takes. 4K content of a similar length takes approximately 10-20 minutes, assuming a fairly fast machine is being used.
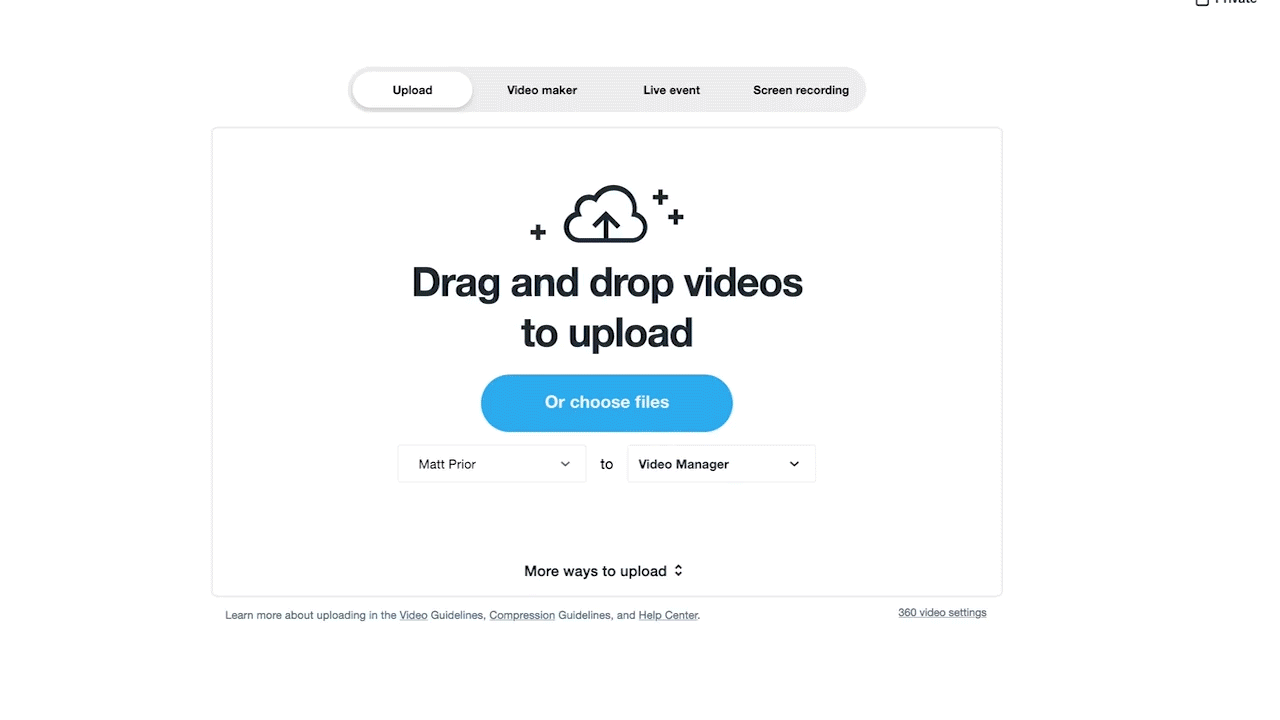
Once it’s been exported and I’ve checked that there aren’t any glitches, I upload the cut privately to Vimeo for you to view. Some clients like their material to be password protected, but that is optional.
9. Client feedback & first major round of changes
Then it’s down to you! Once you’ve reviewed the edit and sent feedback it’s time for me to make amendments. It’s quite rare that everything is working 100% for a client on the first draft, but providing there has been an accurate brief, I generally find that at this stage we’re at least 80% there.
Now, it’s very important that you give feedback in a format that is as clear and concise as possible, especially if there are major changes to be made, referring to the exact timecodes in the video. What I would consider a major change is anything that changes the narrative structure, which can be changing the order of interviews, removing some, adding others etc. It’s important to get this section right, before moving onto the other minor changes. Steps 4-7 above are all affected by a change to the narrative (step 3) and must be adjusted accordingly every time!
Whilst no two projects are the same, I generally quote allowing for one major round of changes and one minor round. If projects involve lots of major changes this can add hours or days to the time needed to fix and can result in extra cost. So, it’s in both the client’s interest and mine to ensure an accurate brief is given at the start of the project and as many major changes are given on the first round! It’s also worth bearing in mind that if you have set a deadline for the finished video, delivering feedback promptly is essential, especially if specific days have been booked for your project.
One last thing; except in the case of motion graphics (which requires a slightly different way of working) I never make changes to the original timeline when making amendments. I duplicate it and then make the amends, so if you change your mind on something I can easily revert to an older version of it!
10. Version 2 ready! Private link sent to client
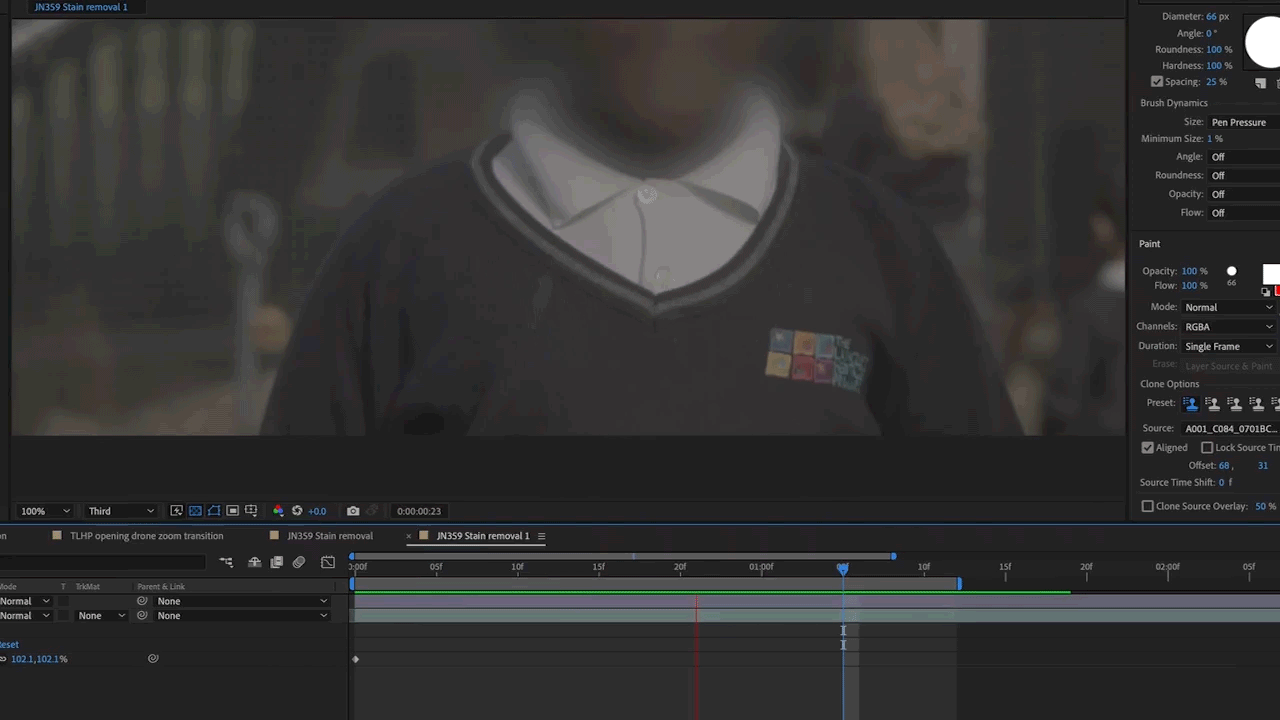
Another Vimeo link will be sent to you. By this point I would sometimes expect a minor change or two such as removing a few frames off a shot that doesn’t work for you, fixing a spelling mistake on a title or even removing unwanted things from the video i.e., number plates on cars or stains on clothes! However, sometimes we get a sign off!
11. Add subtitles and deliver social edits [if applicable]
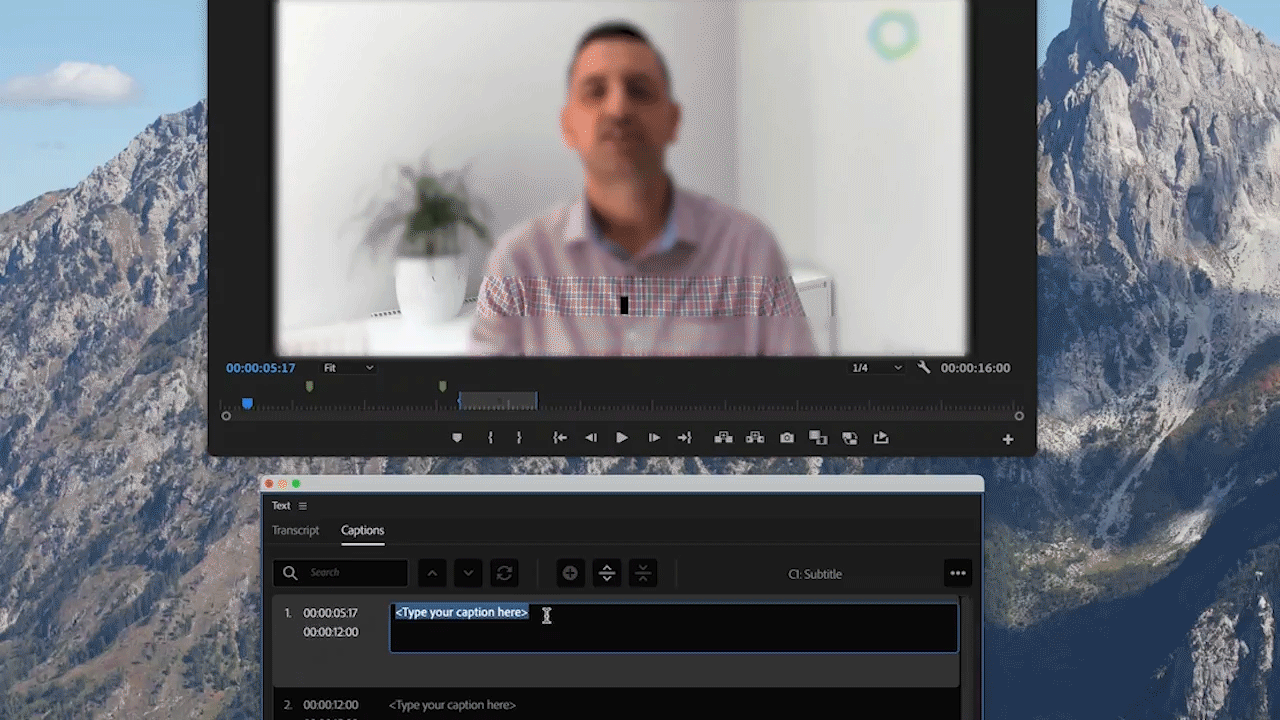
Once everything is signed off, now is the time to add subtitles, if requested. Some clients also like shortened versions of main edits for social media, such as cutting a highlights video from 2-3 minutes to 30 seconds, with a call to action at the end. If they need to be formatted in a specific way, this is also done.
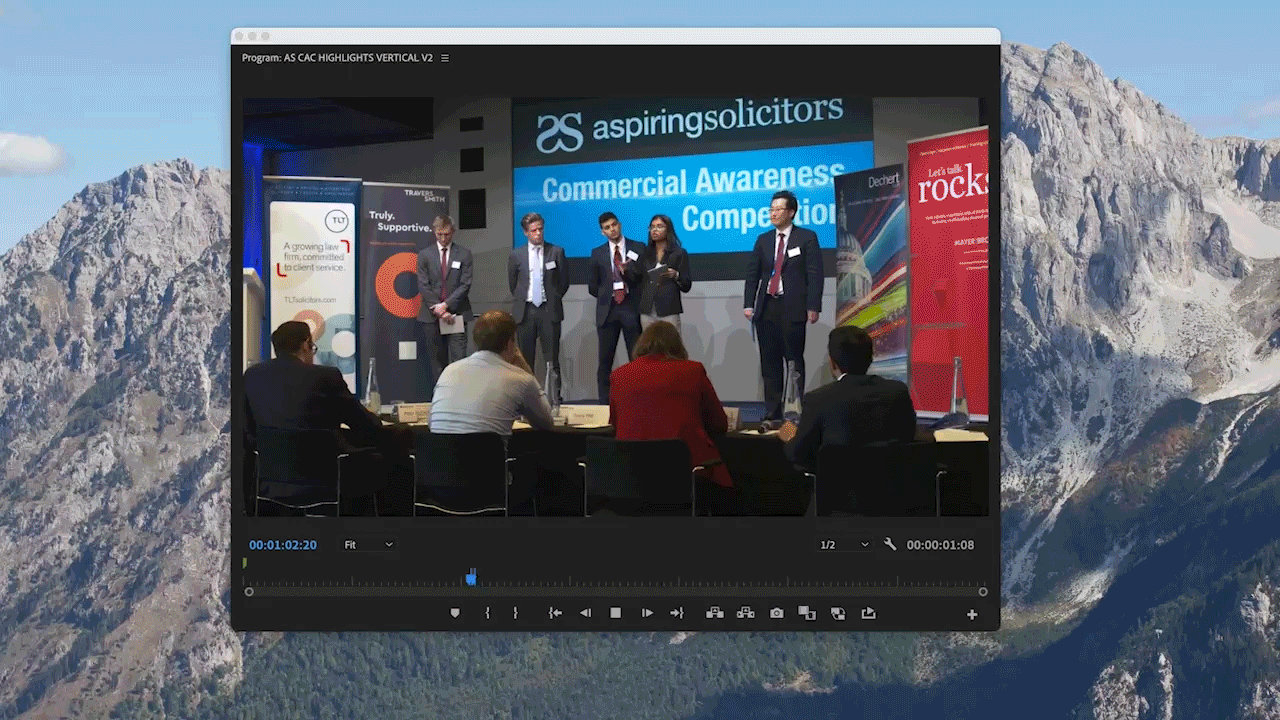
You may require a vertical or square aspect ratio for instance, depending on the platform you’re publishing on and where within it you plan to use it. Formatting 16:9 videos into alternate aspect ratios can take a bit more time than you might think, as all graphics must be adapted too, so once again, it’s crucial to have all the major changes signed off way in advance of this stage.
12. Export & upload the final cut
The final video is then exported into a viewable format depending on your requirements. For most web uses, an mp4 or QuickTime file is usually the best option. Video formats and codecs can get very complicated however, so it’s important if you do need something different to specify this before the final sign off!
Once exported I will then either upload them to Vimeo (where you can download them from) or I will send you a WeTransfer link with the physical files.
13. Project files & footage are archived in the event of a re-edit further down the line
You never know when you might need to return to an existing project later. For instance, one client I edit for specialises in making promos for schools. Teachers often change roles, so we regularly find ourselves replacing old interviews with newer ones, whilst keeping the rest of the edits intact. It’s for this reason that I backup and store project files and footage in more than one place, so you can be safe in the knowledge that if you do need to return to it, I have you covered. Of course, if you preferred that I didn’t keep this data, just say.
These steps have only just touched the surface of what might be included in a video project, and it can get much more complicated than this as well! Sometimes sound or graphics work is outsourced to specialists on higher end productions, which require sharing and collaboration. Other projects require green screen or visual effects work. It is frankly impossible to cover every single editing scenario in one blog post!
I hope you’ve found this insight useful. Now that you are aware of the various steps involved, it will help you to plan your video projects more efficiently. At the end of the day, effective communication is key and allows me to do a better job of helping you!
Thanks for reading.
Programs and apps used: Adobe Premiere Pro CC, After Effects, Backblaze, Time Machine, Vimeo & Wetransfer
Other articles that may interest you:
Covid-19 isn’t behind us yet! If you’re considering a video project but are concerned about social distancing and safety then take a look at these productions that were made safely throughout the pandemic.
Going on camera for the first time? These tips will help you prepare for your video interview.