7 Essential Ways to Enhance Your Talking Head Videos
Whichever sector you’re creating content for, we need to make sure it’s as engaging as possible for the available budget.
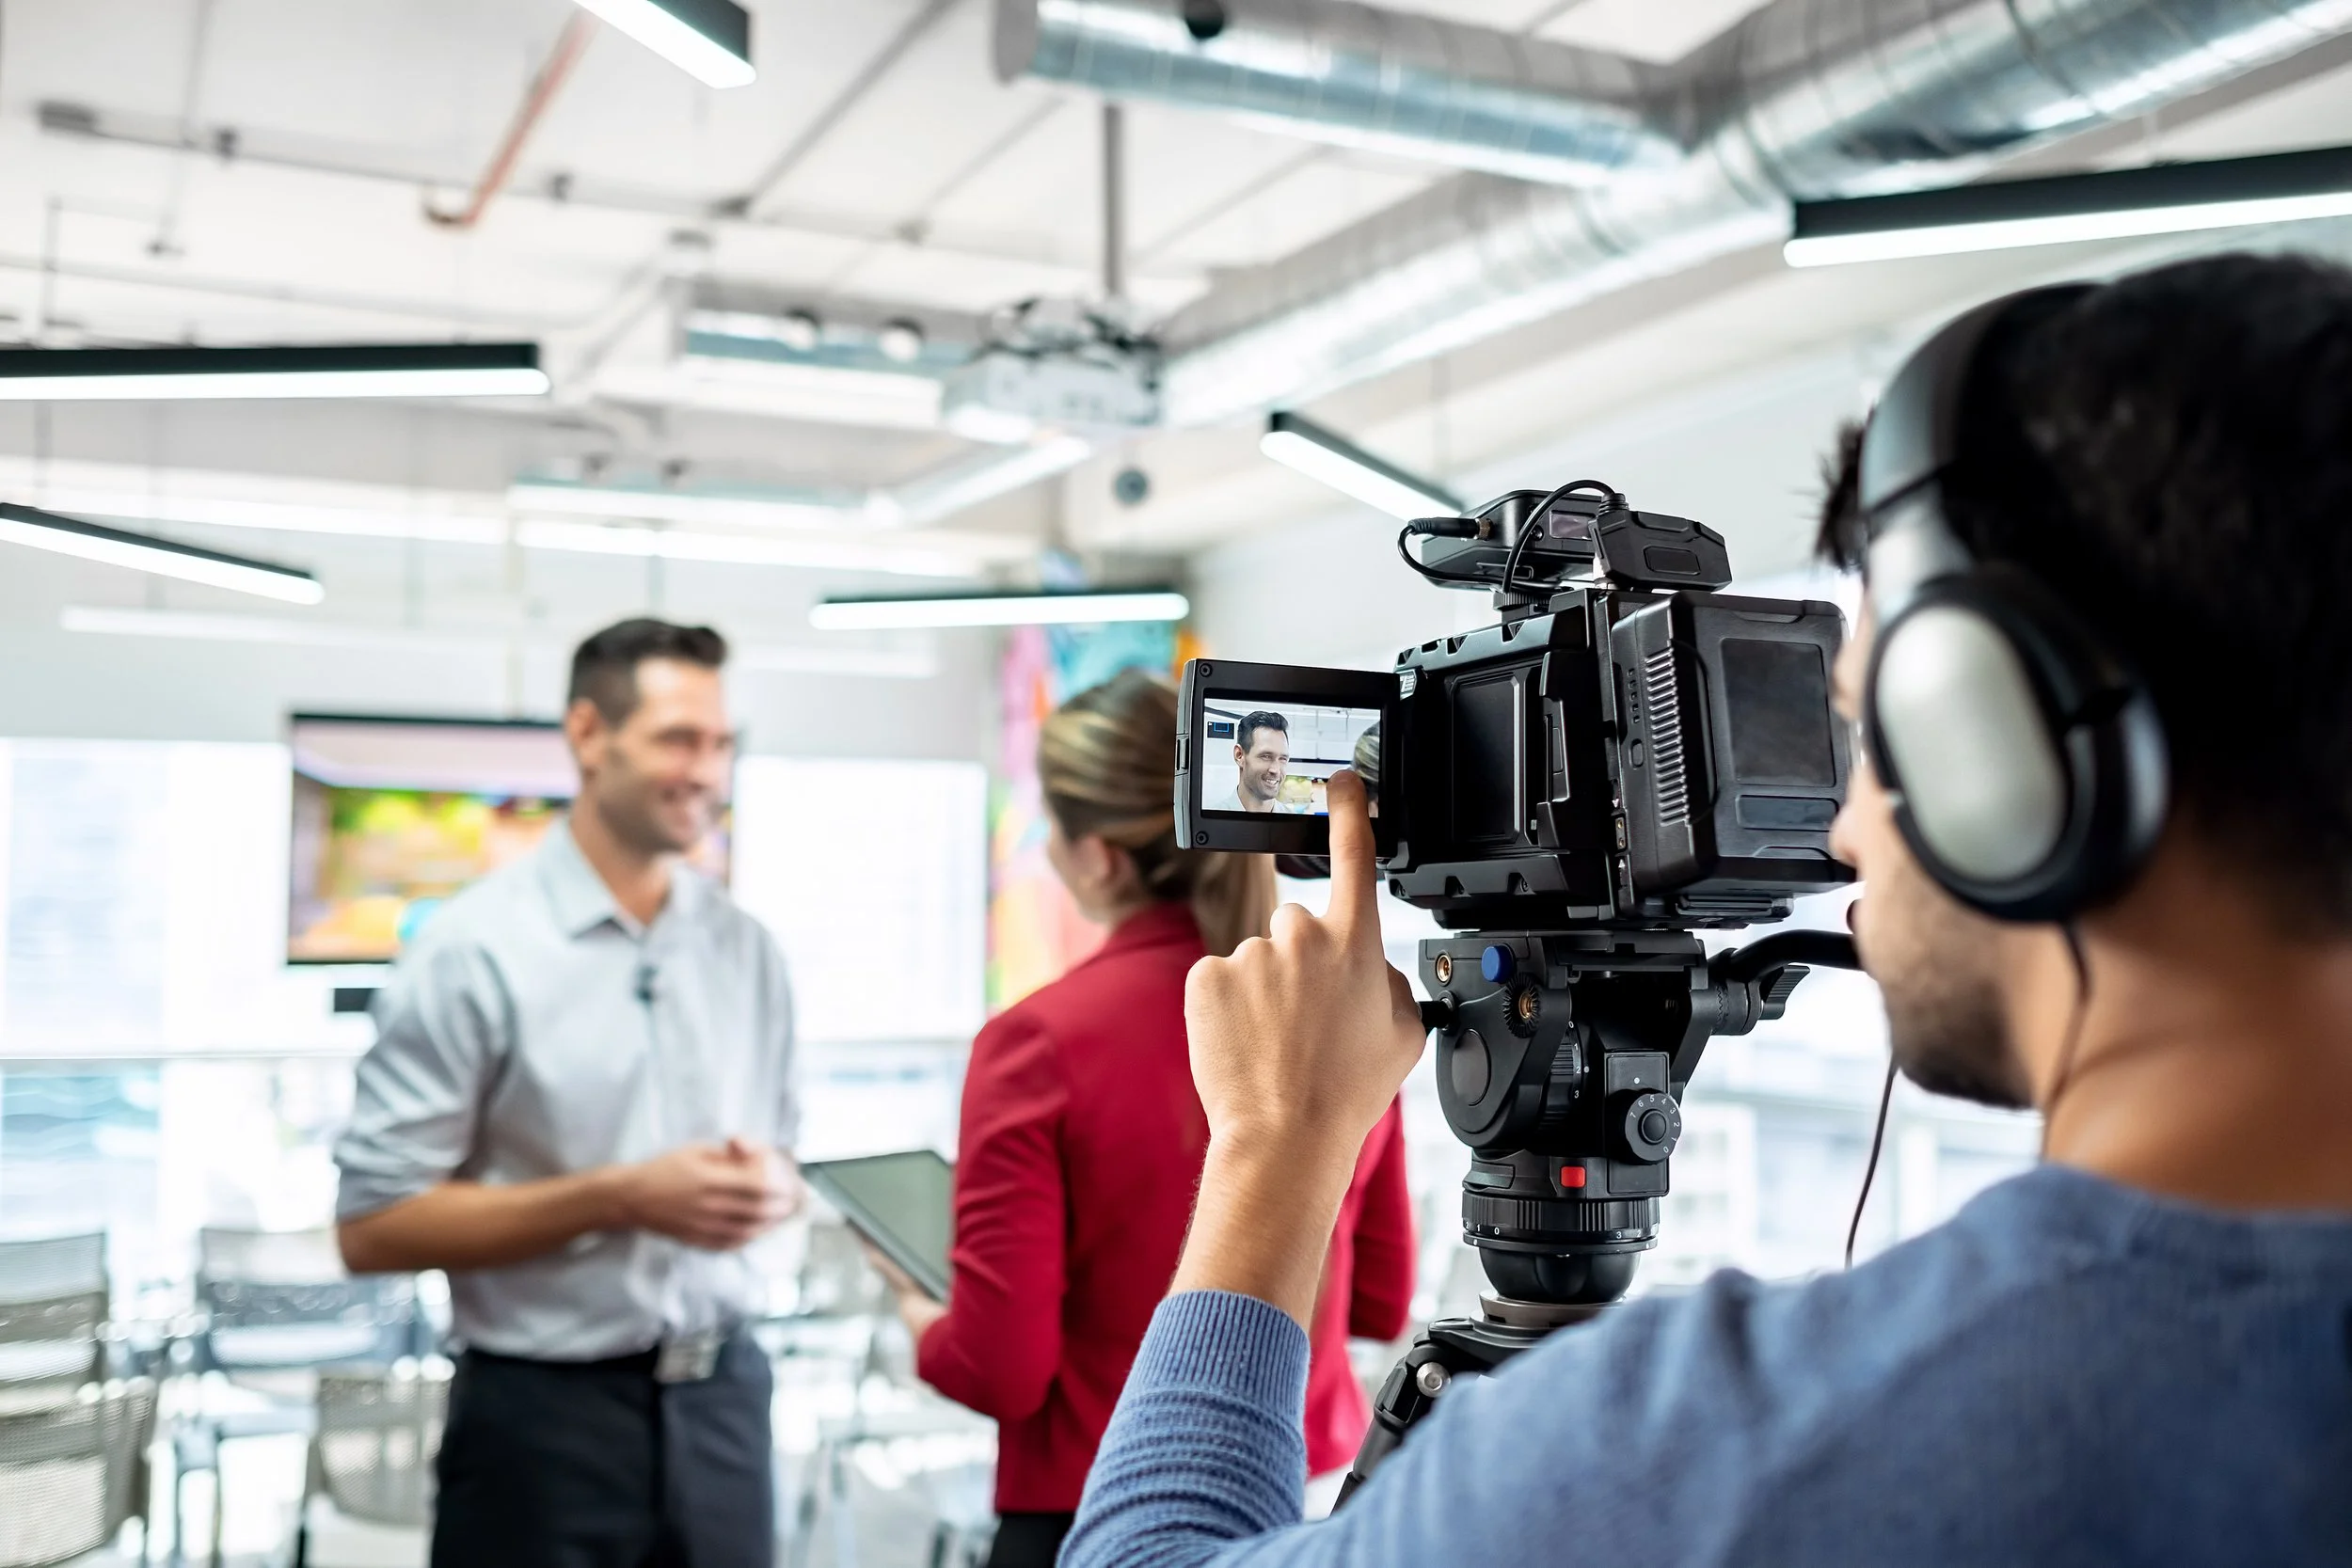
Videos featuring interviews or ‘talking heads’ are very popular in the corporate sector, both for internal and external use. And there’s good reason for this too - they’re generally efficient and economical forms of video marketing, compared with scripted commercials for broadcast for instance. They can be shot almost anywhere, and they feature knowledgeable people talking about their area of expertise.
However, one problem that sometimes occurs with this format is that it can sometimes be viewed as a bit dull. If you’re going to invest in video, it works both in your favour and mine that the target audience finds them interesting! So, how can video production techniques be used to make them less stuffy and help them stand out from the competition?
At this point it’s important to bear in mind the potential size of your target audience; if you operate in a very niche market for instance, then don’t go expecting millions of views overnight. Engagement is far more important, and its success can only be measured fairly in the right context.
So, whether it’s adjustments to the filming setup or enhancements made in editing, I’ve identified 7 areas where creative techniques can be used to improve your talking head videos:
1. Cut out the fluff: use b-roll to your advantage!
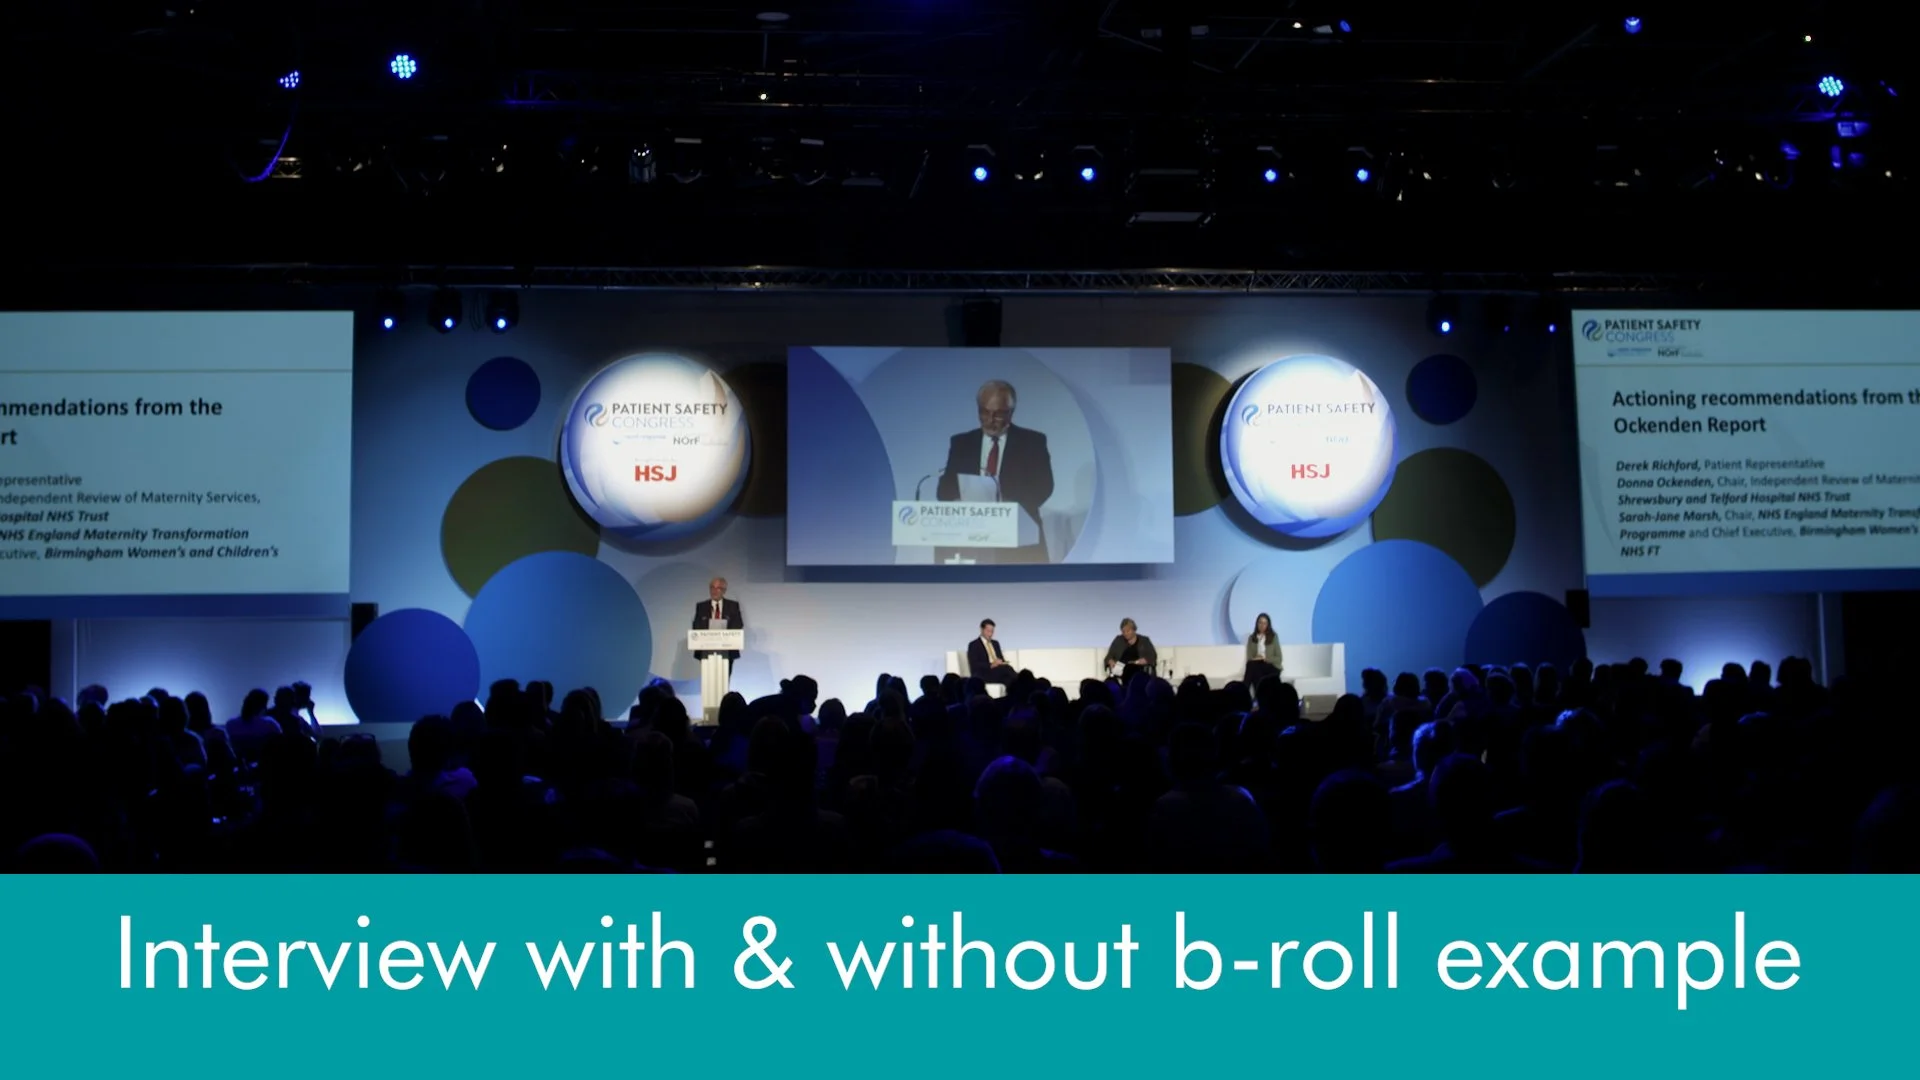
Example from the HSJ Patient Safety Congress 2021 highlights
B-roll or cutaway footage is used over the top of interviews (or any form of narrative really, whether that be a scripted voice over or piece to camera) for a number of reasons. Firstly, it’s used to hide the cuts. If a subject hesitates a lot during their interview, a good editor will want to remove as much of the ‘ums’ and ‘ers’ as possible, but if the visuals are left on screen we’ll see a load of jump cuts. Whilst initially it might be a little amusing, it doesn’t usually look great for a slick and polished product (unless you’re a trendy YouTube influencer!). Therefore, cutaway footage helps us to bridge the gaps. Ideally this would be high quality, well-composed and lit footage of whatever the subject is talking about, with various angles if possible. If you can’t get this footage, another option is to use royalty-free stock footage. There’s a lot out there to choose from!
Generally, the more cutaways the merrier; narratives can be tighter, and sequences will be much more visually interesting. But at the end of the day, even just a couple of shots can really enhance a sequence.
2. Capture interviews from multiple angles
This follows on from the previous point, as it gives us more options for editing an interesting sequence. However, there are 2 ways we could approach it:
Option 1: Use 2 or more cameras
This is the ideal situation, particularly if we don’t have much b-roll to hand. A common way of doing it would have camera 1 as a mid-shot or medium-wide and then camera 2 on a close up. Sometimes clients like the close up to be on a slider with a slow movement back and forth. Of course, you could add more cameras, but generally 2 is sufficient for most interview situations. This second angle can raise the production values of your video substantially.


The majority of this case study for Russell Finex was captured in 4K & delivered in HD and is most apparent in the interviews.
Option 2: Capture 1 camera in 4K for HD delivery
A simpler way of doing this is to just use 1 camera and capture the footage in 4K but deliver the final project in HD. This allows the editor to crop in by 50%, which opens your options up. Another benefit of doing this is that you can add some movement to the camera in post-production, gradually zooming in or out as a person speaks. It’s quick and simple and elevates production values instantly!
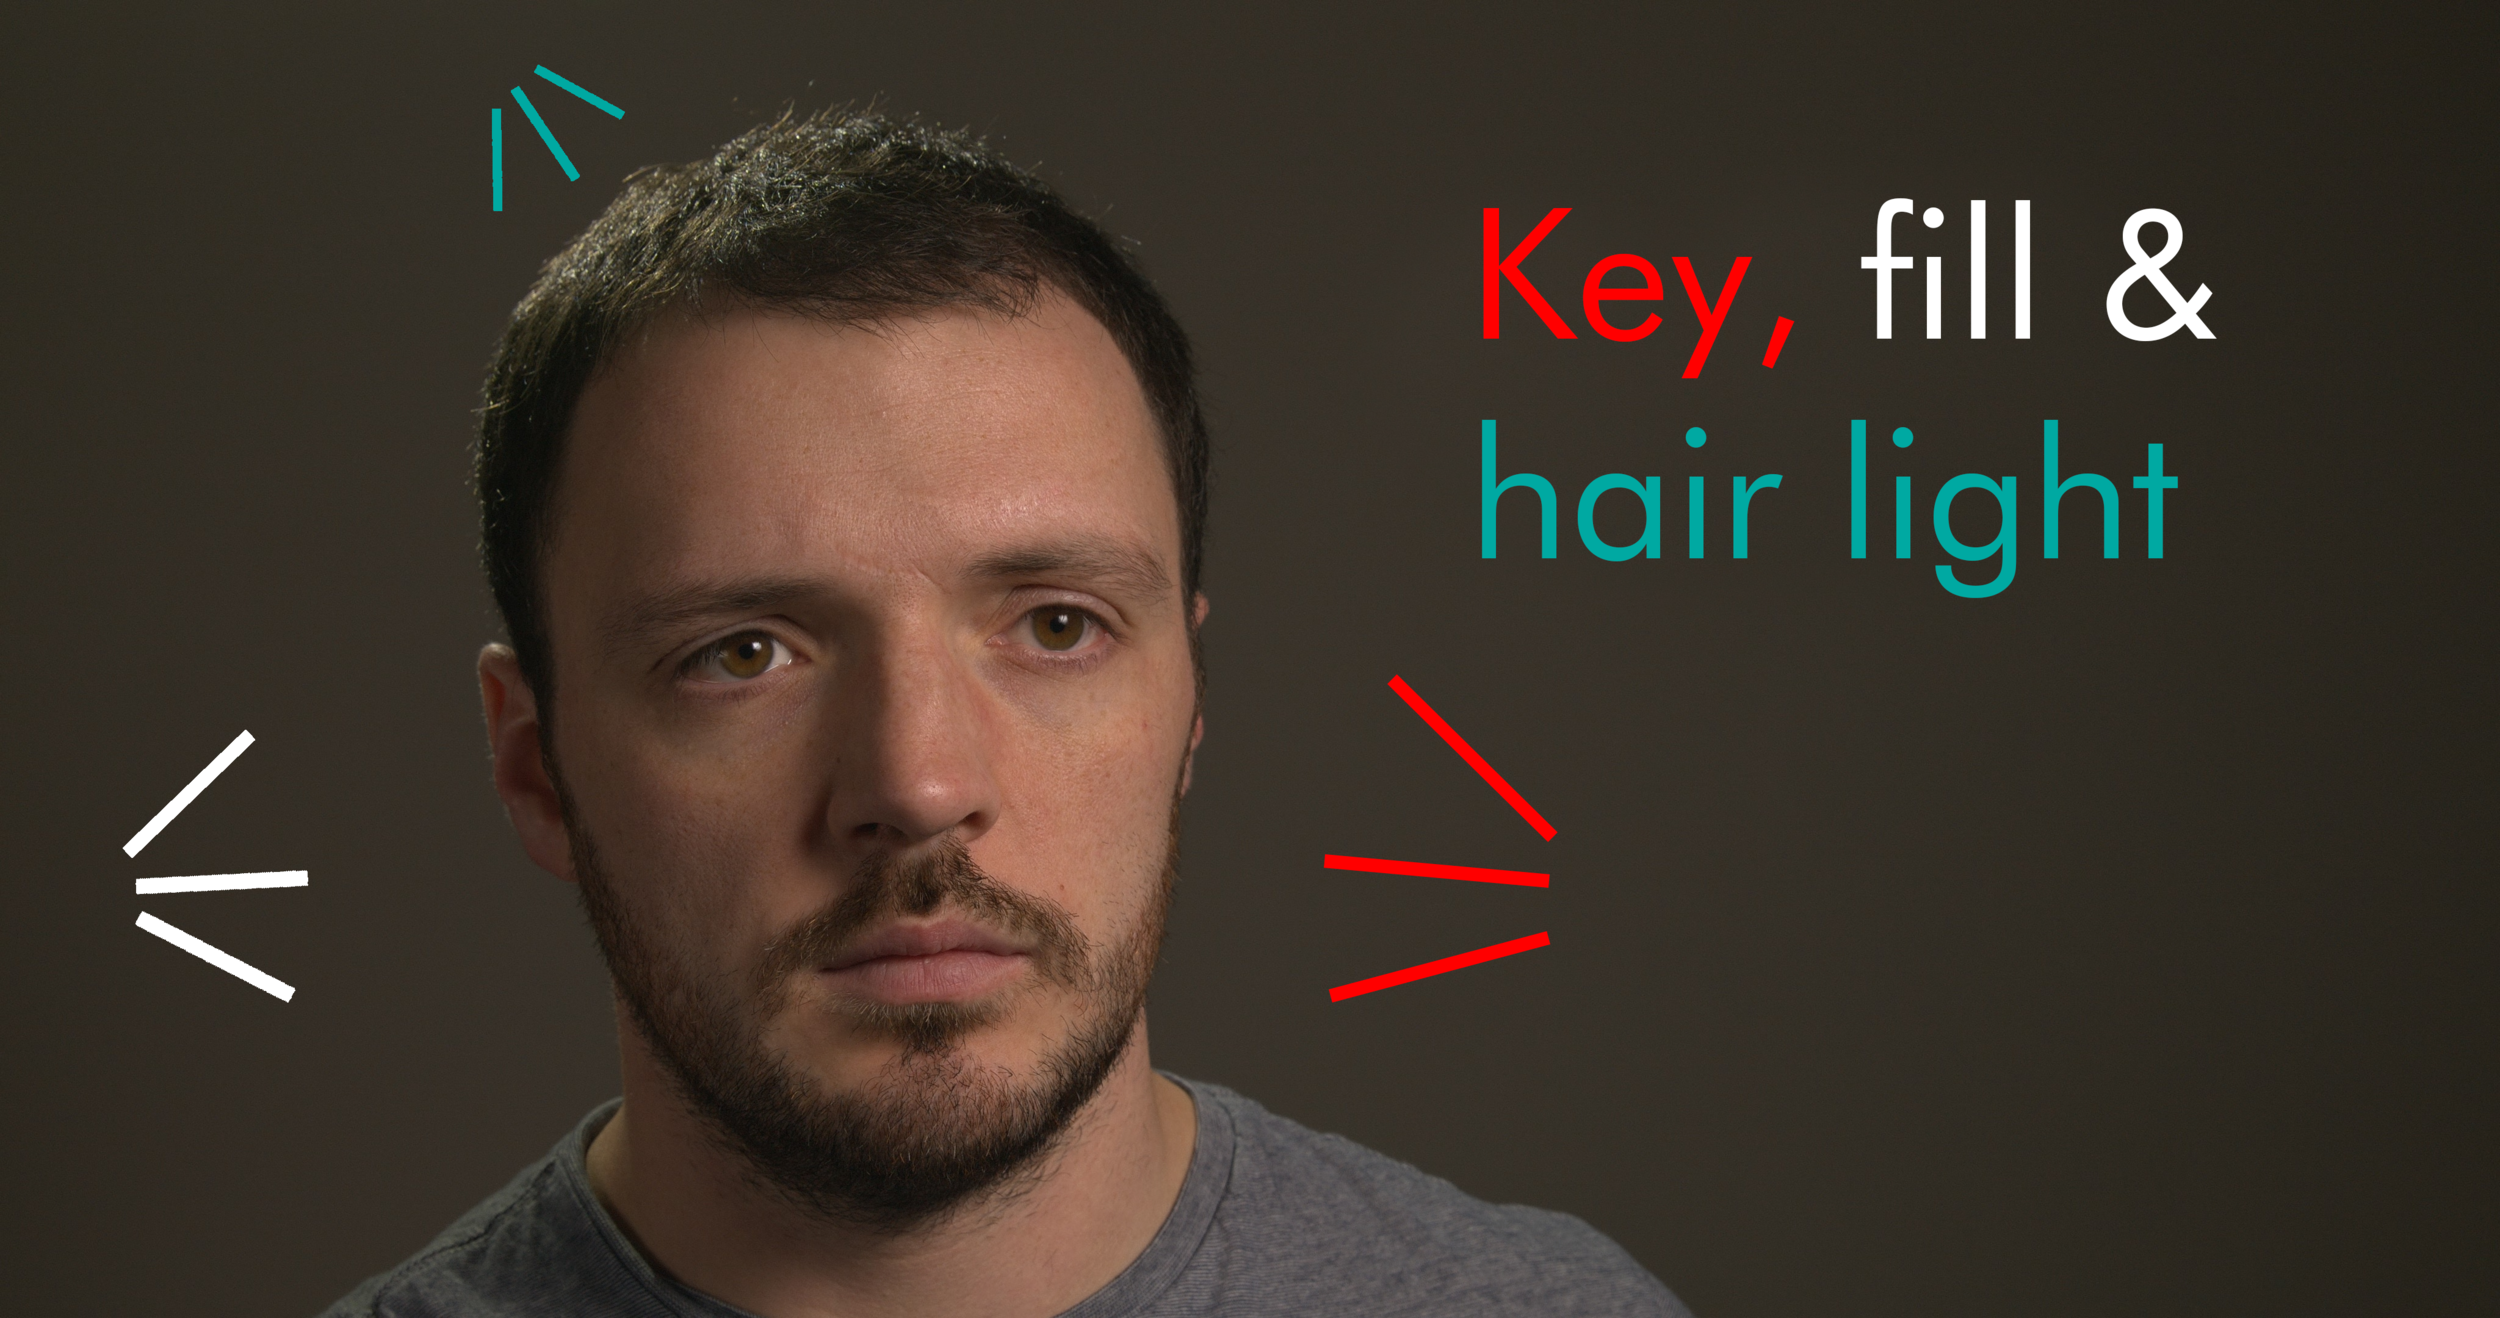
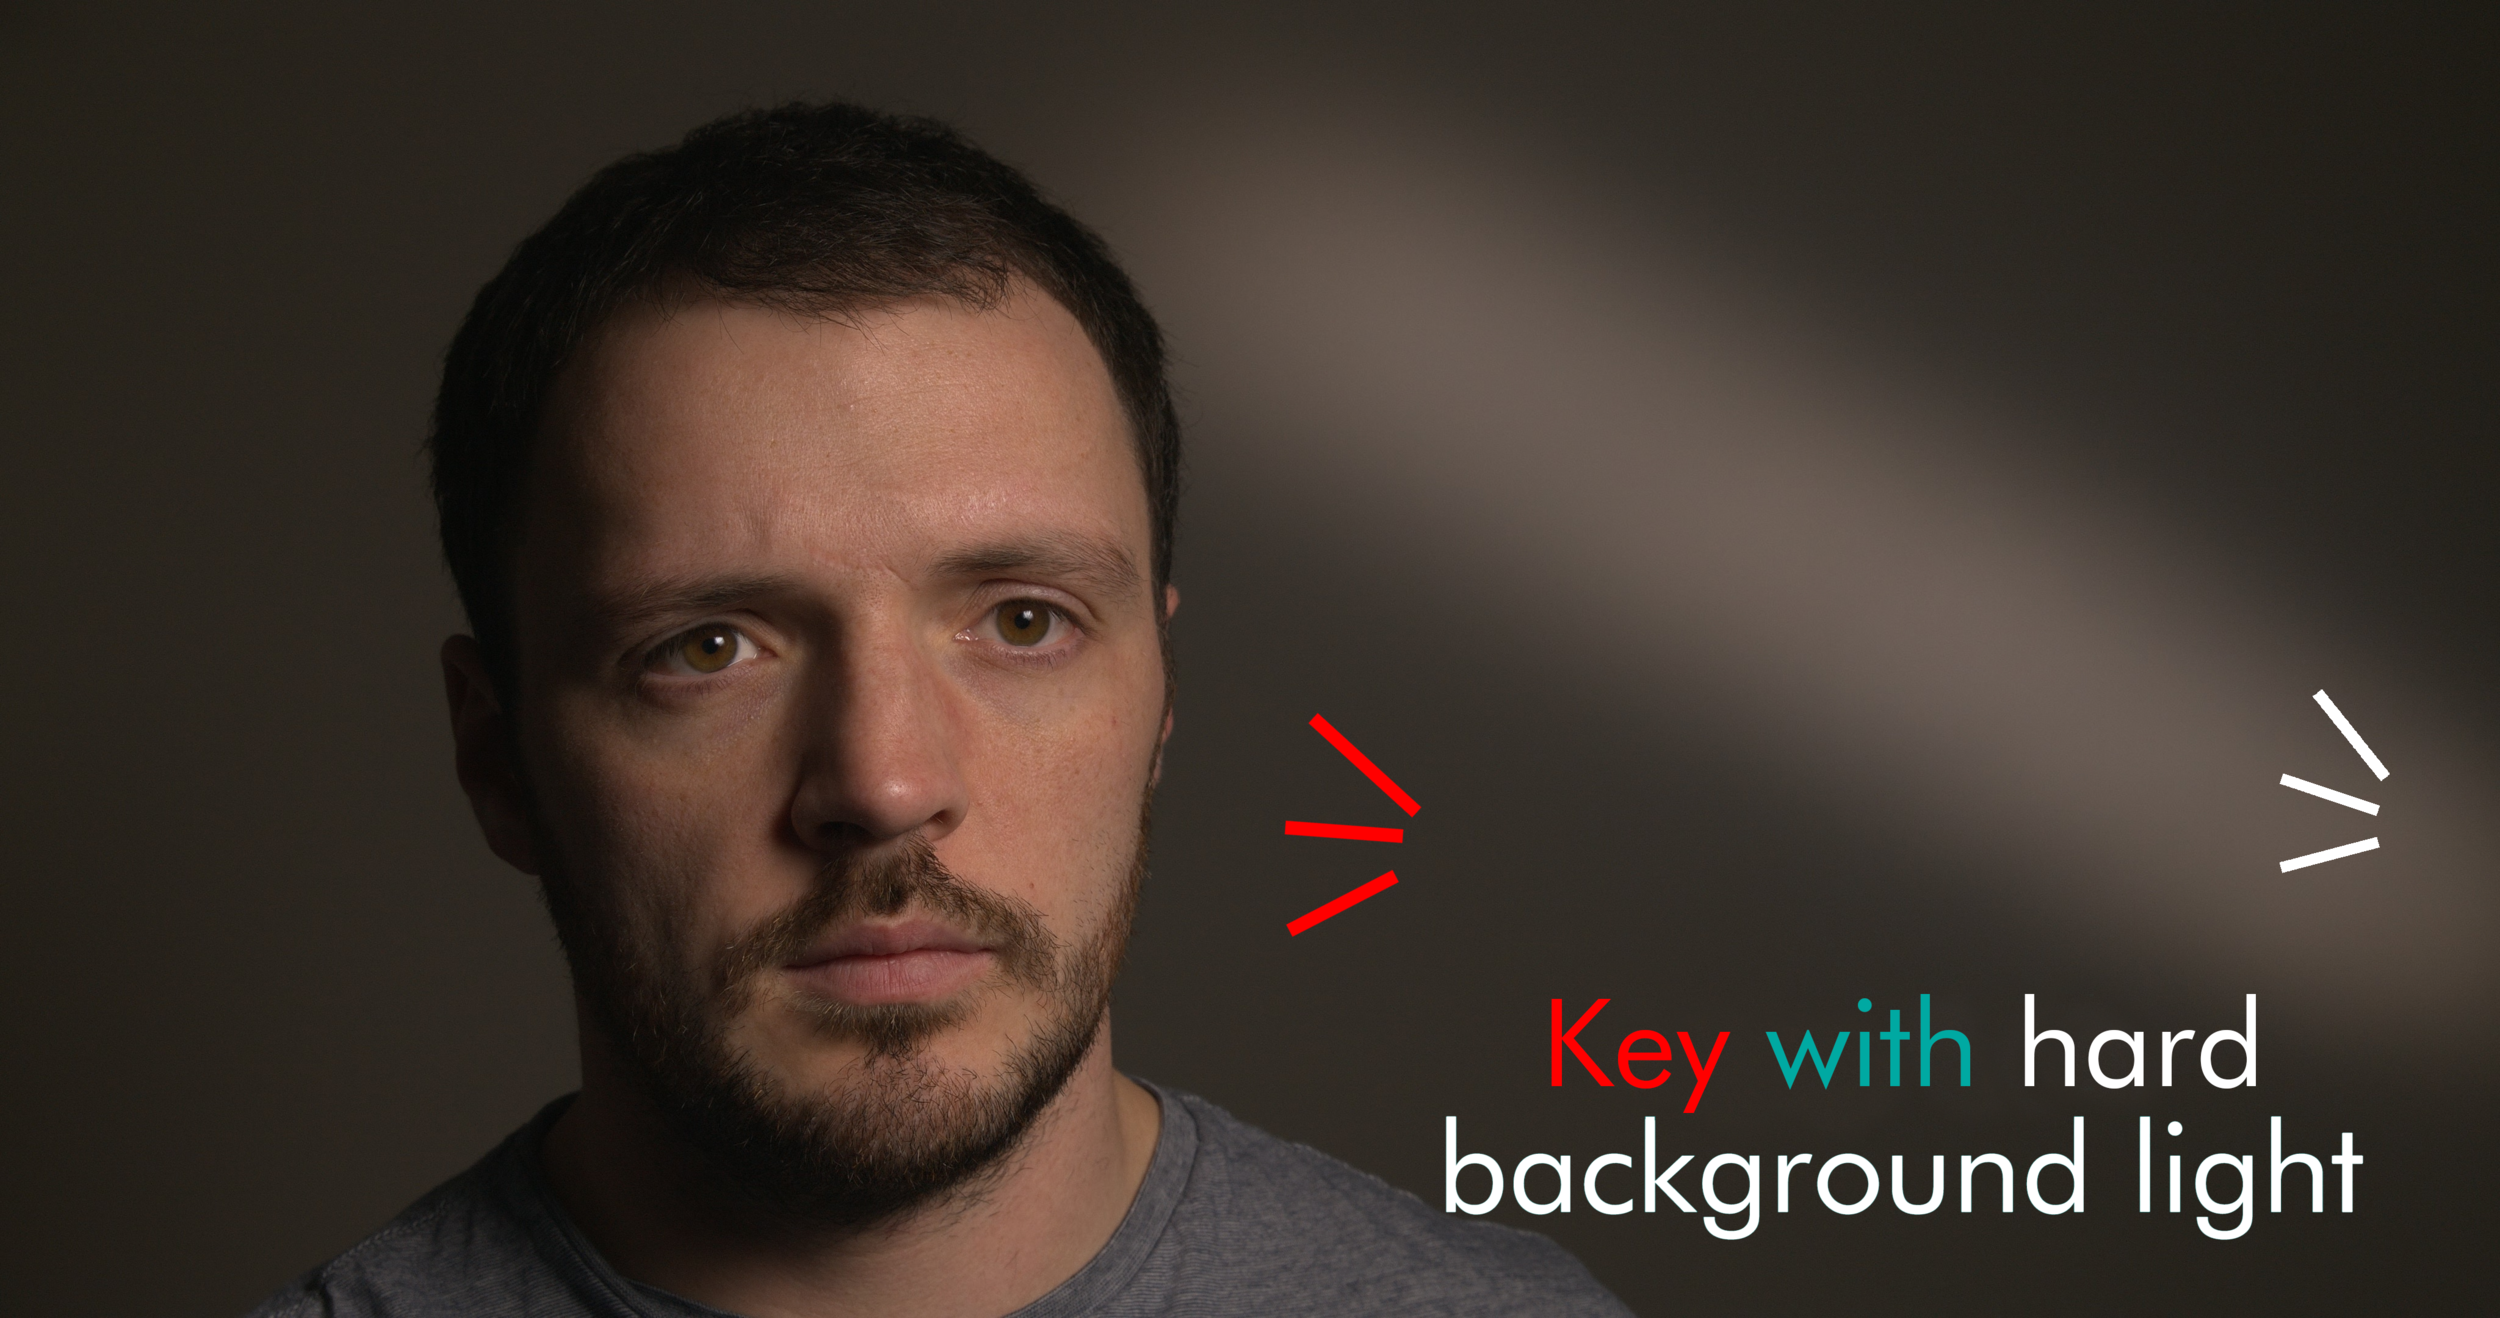
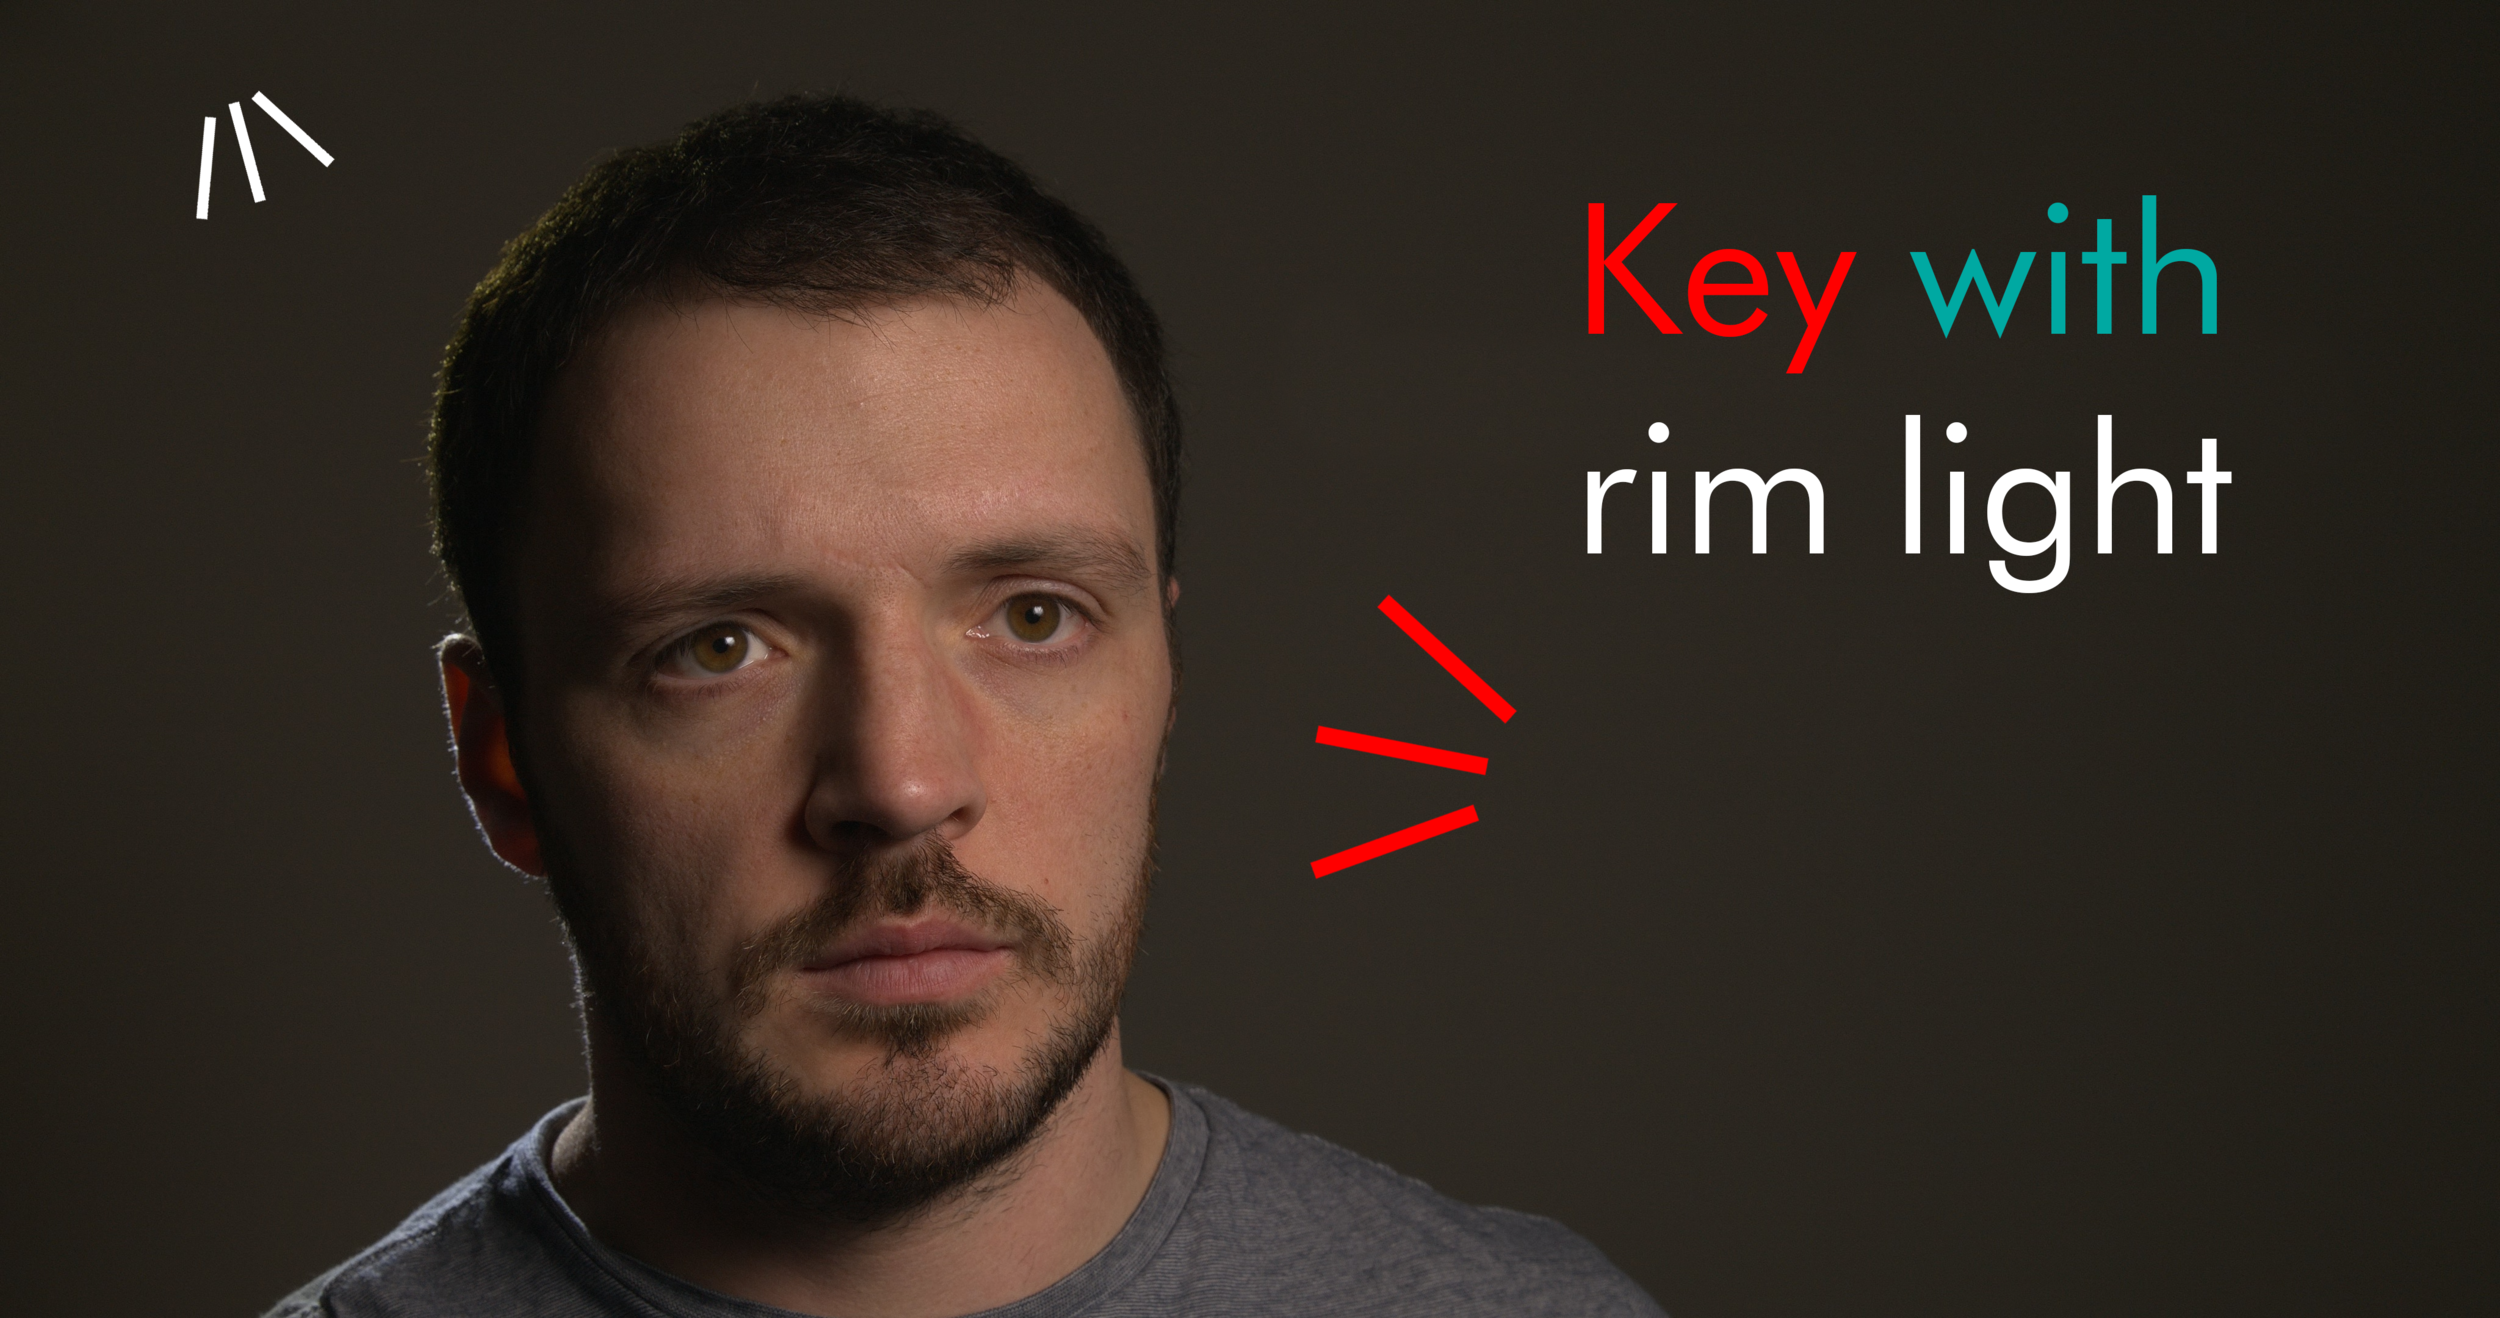
3. Shape the lighting more effectively in your interviews
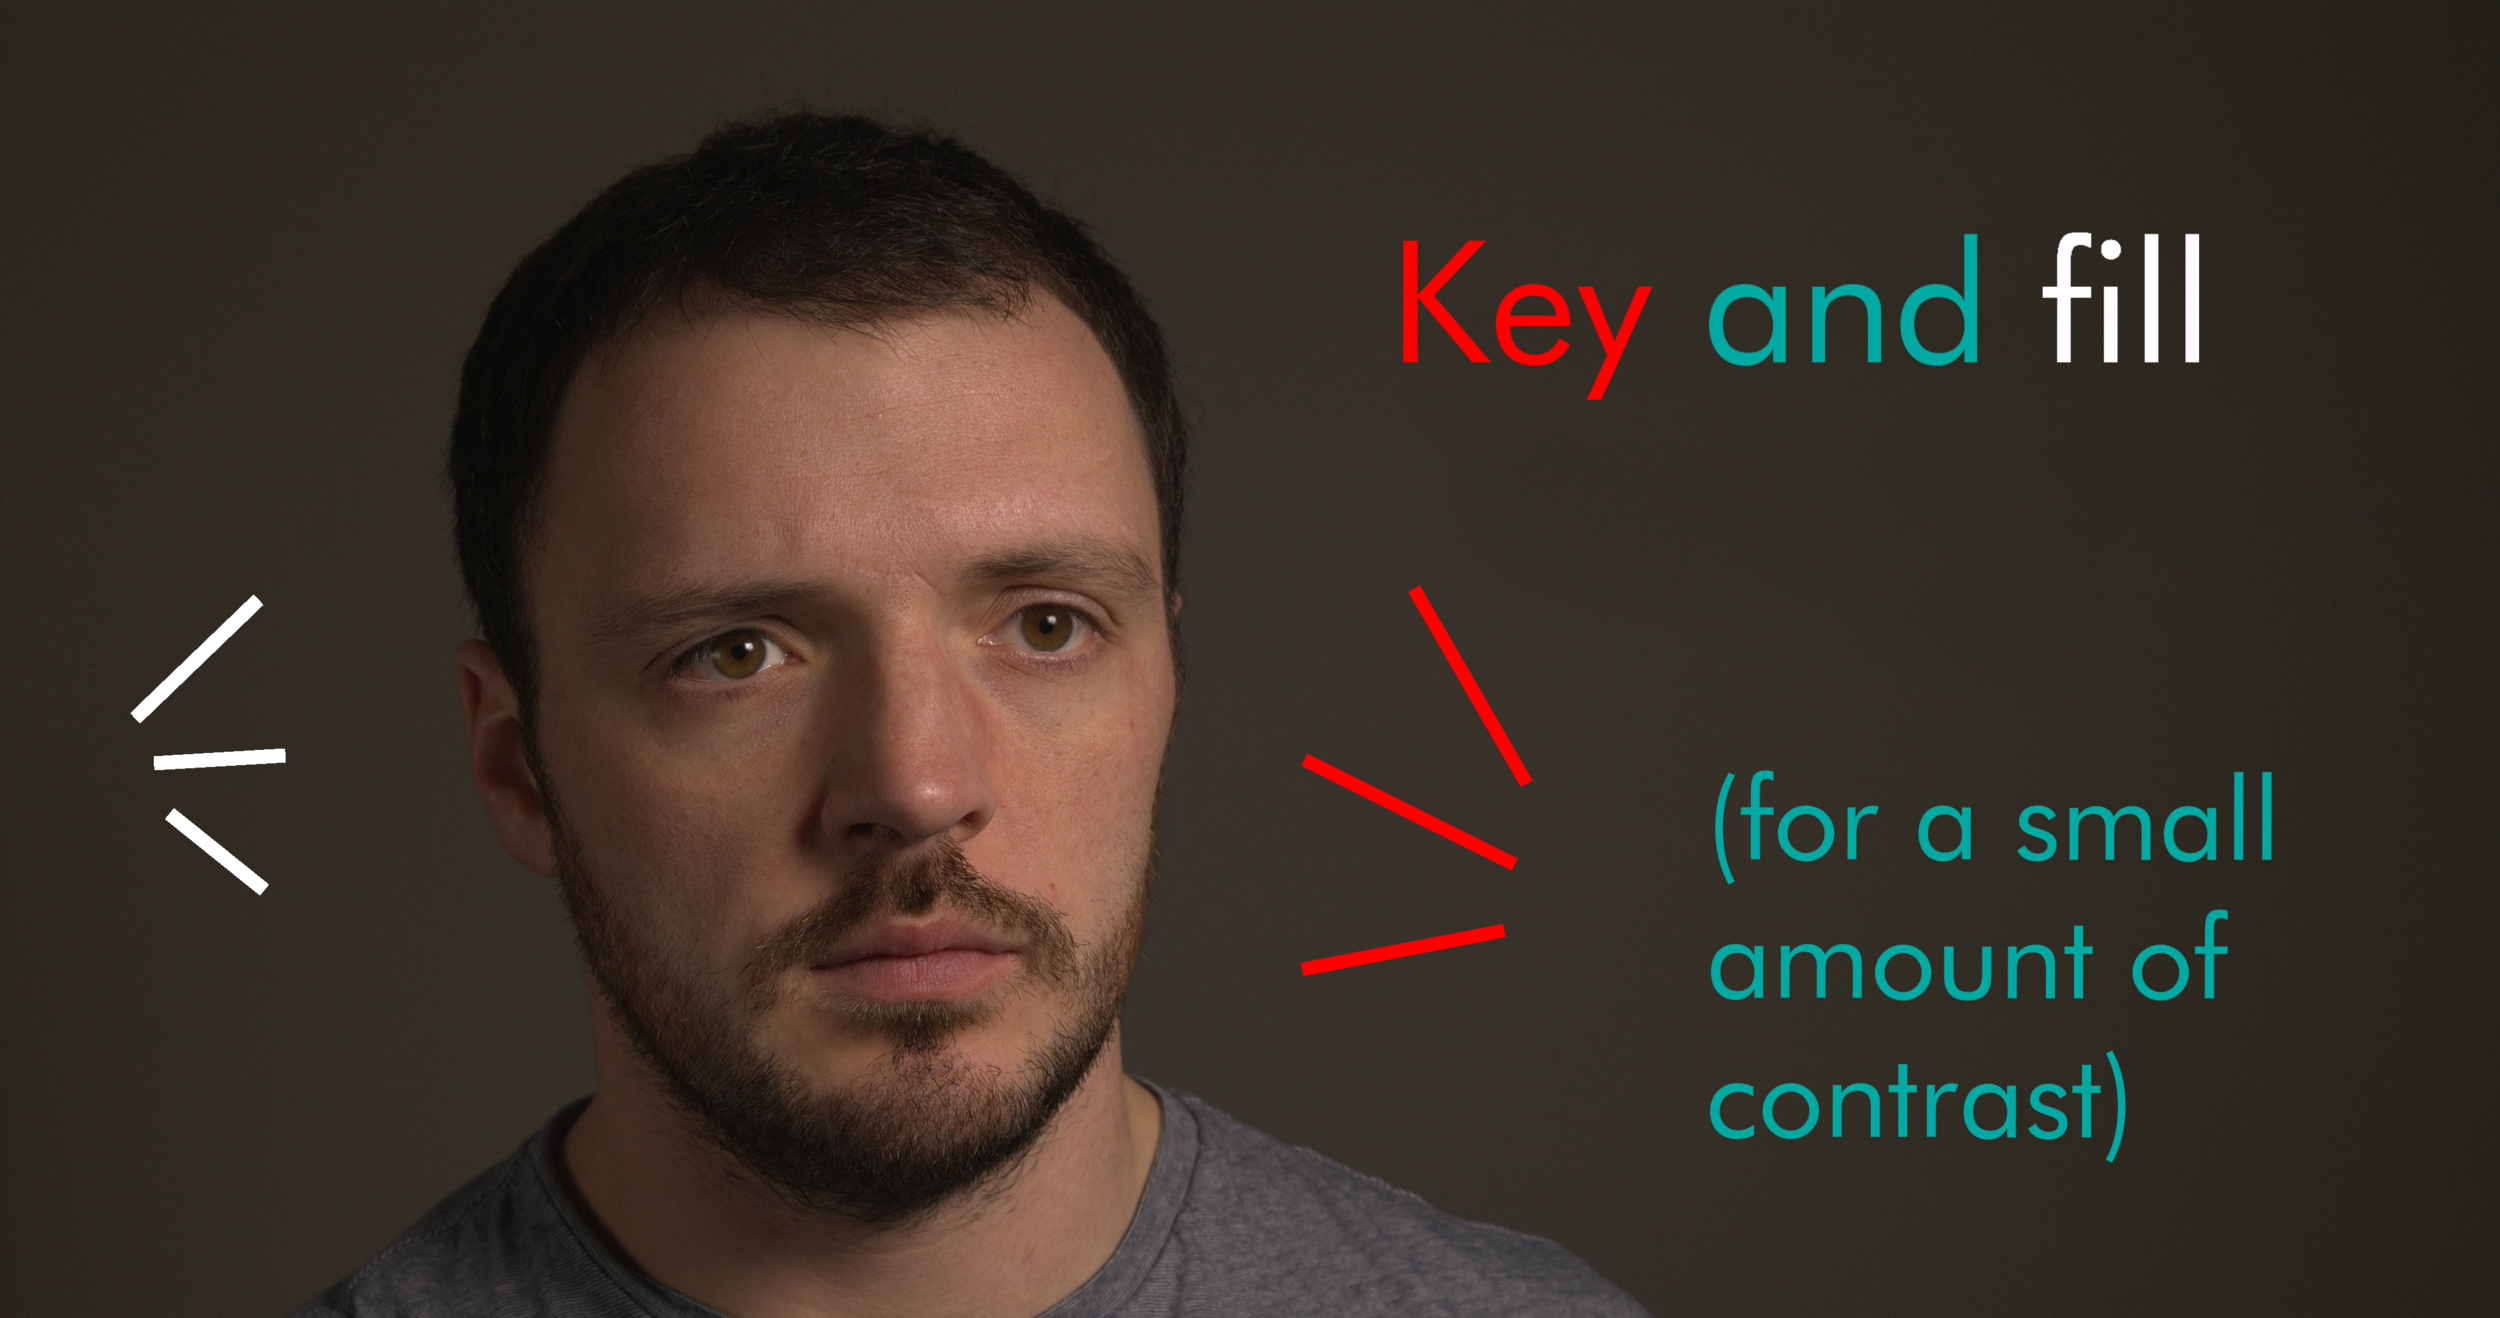
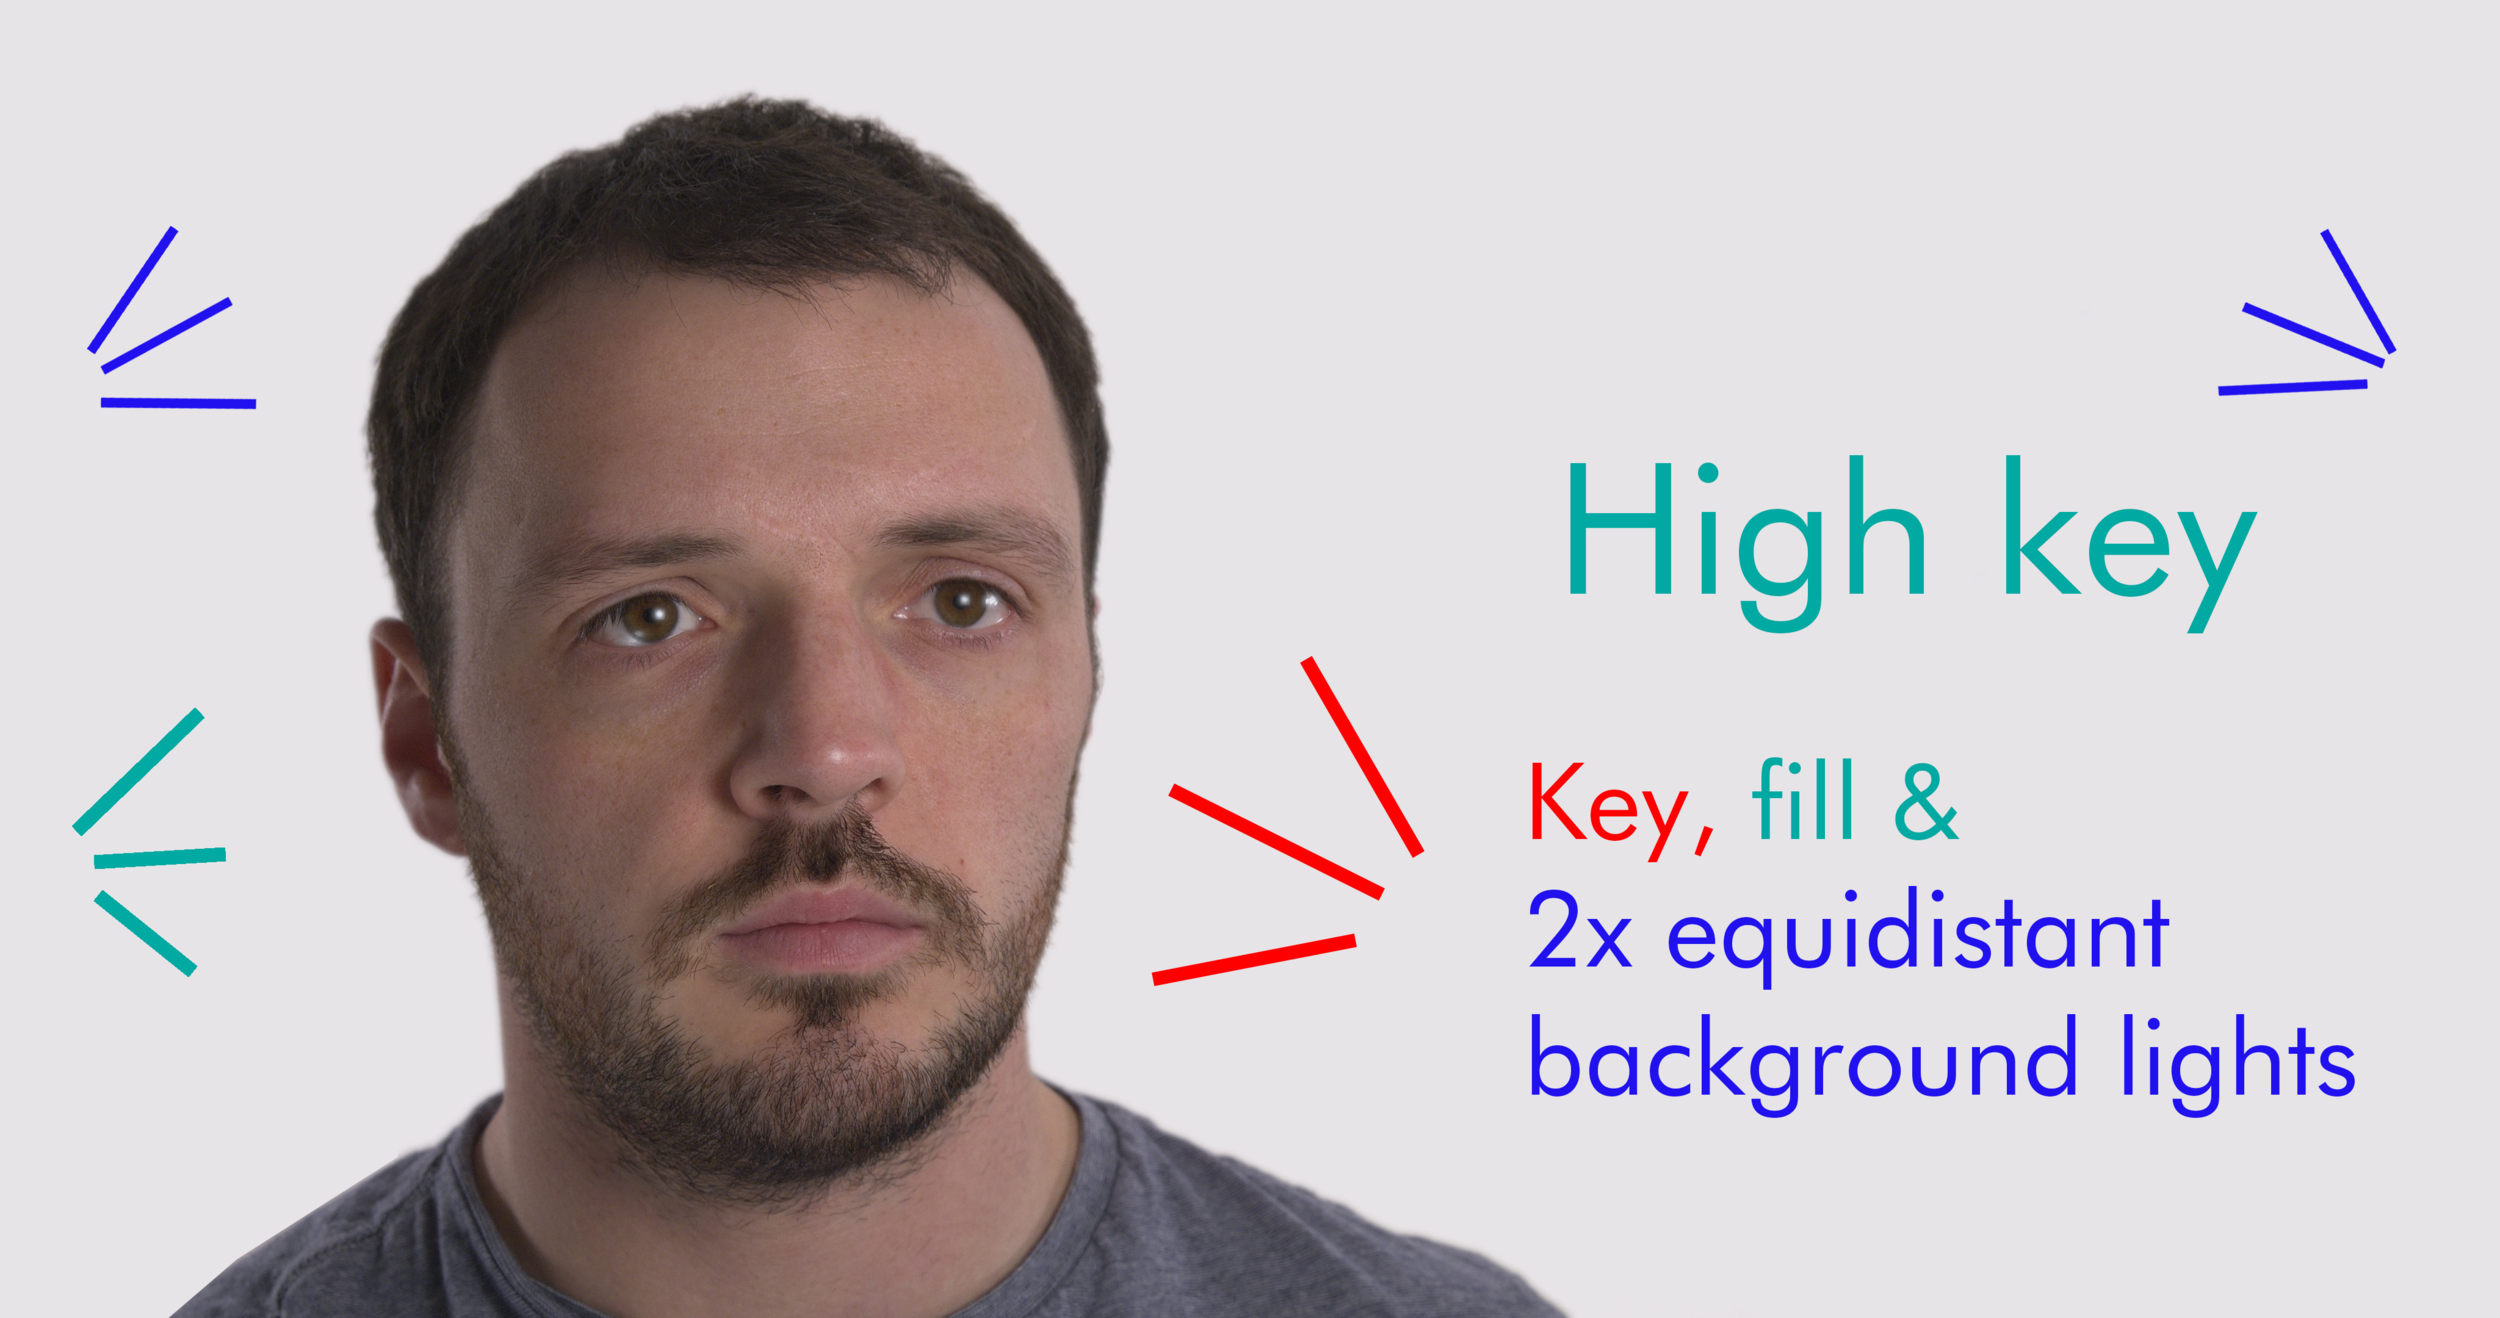
Lighting effectively is much more than simply turning on a fixture and hoping for the best. Lighting placement, the number of fixtures, quality of light, colour and texture are just some of the factors that affect how the final images looks. What’s more, it isn’t simply the case that more lighting is better; it’s more about finding the most appropriate setup to suit the tone, resources and budget of your project. In some cases, less is more, but for high-key videos with minimal contrast, you may need more lights than you think.
Fortunately, you don’t have to worry about how this is achieved (that’s what we’re there for) but understanding what might go into creating your image can be helpful and you may find it interesting. Here are some example images showcasing some of the varying looks available that can be created with just a few lights for use in a medium-close up. You may want to use one of these setups in your productions, but some can also be combined:

To further illustrate my point, how many lights do you think were used to create a high-end, high key look to this commercial?
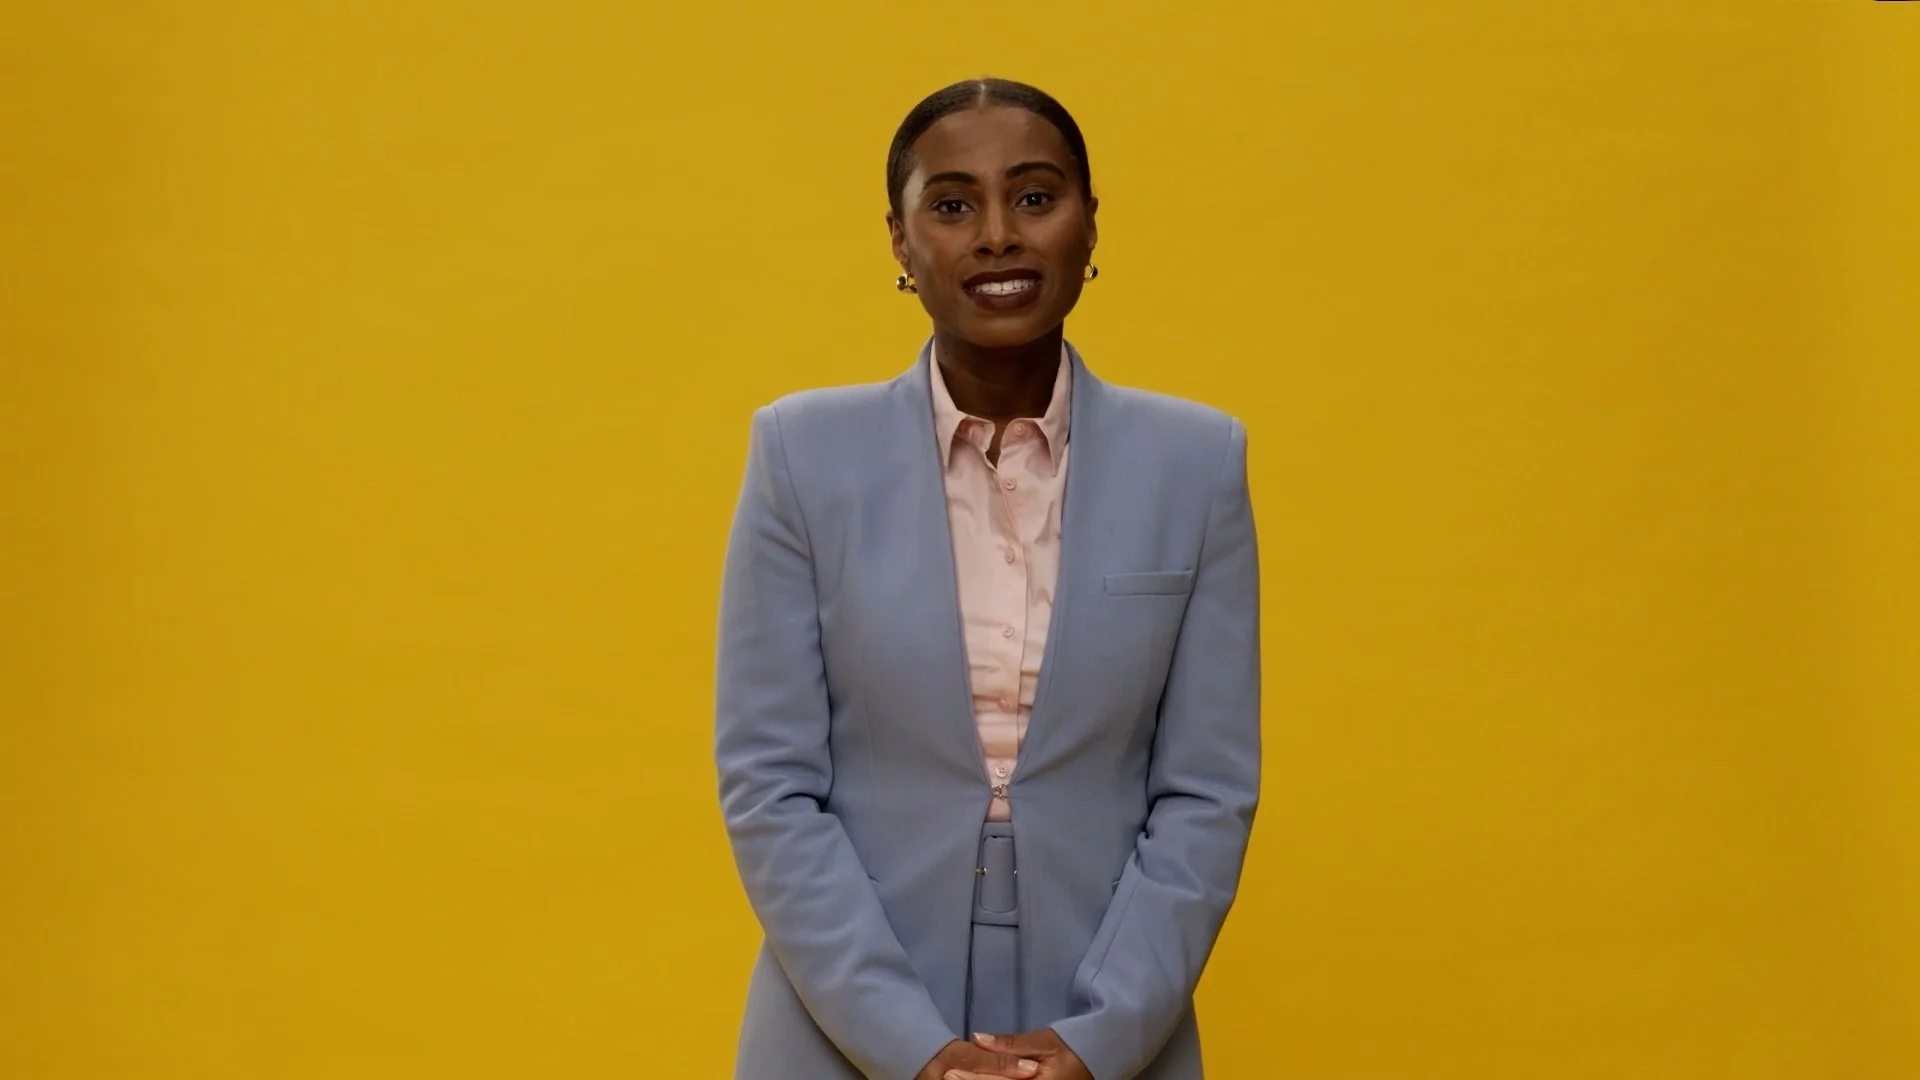
From Why SAP commercial, produced by Clockhouse Productions

The answer: 8 lights and quite a lot of space! Naturally, the bigger an area you need to cover, the greater the lighting requirements will be, especially for high key material. In this case, head to toe was what the client needed.
If you want to find out more about this, I spoke in greater detail about lighting for the white screen studio look here.
4. Use infographics to showcase stats or accentuate key messages
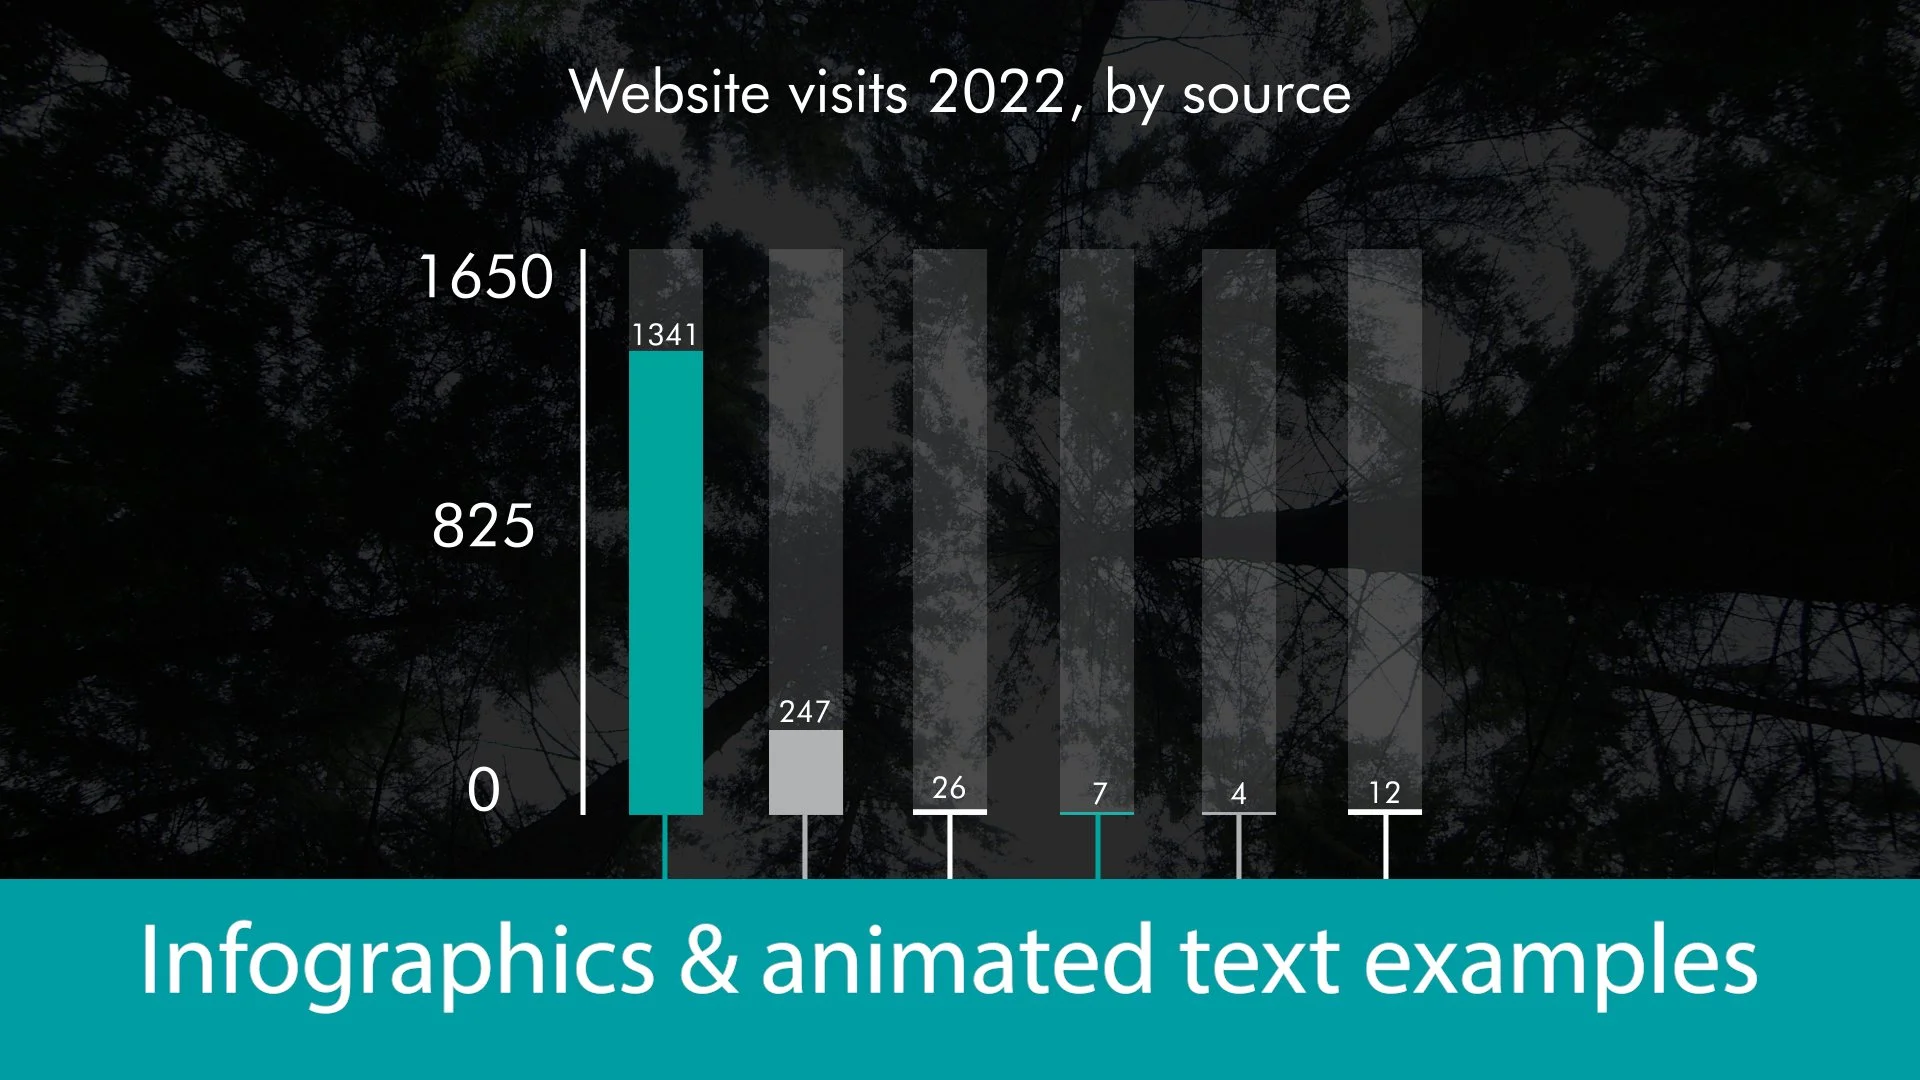
Some examples from a range of projects
This is a big one and a sure-fire way of impressing your audience! Infographics and stats can be as simple as animating text in interesting ways to creating more complex compositions such as pie charts, bar graphs, line graphs and so on. What’s more, they can be created in line with your branding guidelines, using correct typeface and colours. This stops it looking like a copy and paste job from your competitors’ videos. They can be used as standalone images, additions to interview clips or additions to b-roll footage. The main consideration with the latter is where it will fit within the frame, as it depends on the composition of the shot.
Here are some examples of infographics and stats, but these are by no means conclusive. Remember - they can be customised to your heart’s content!
5. Spruce up your lower thirds
Following on from the above, your lower thirds (AKA names and job titles) may be simple text with a smooth fade in and out. Sometimes simple is best, and with the right font can be professional enough. But if you want to make them a bit more exciting, have them animated in and out in a more interesting way! This can be just the text itself transitioning in, or they can be used over colours (solid or transparent) to fit in with your brand better. The great thing about customising your lower thirds, is that once you have something you like it can be saved as a template and is easily applied to future videos, so after the initial creation it’s not adding much time to the overall process.
It’s worth noting that if you want a more bespoke lower third design for your brand then getting a graphic designer to create one might be a good idea. Just make sure they give you versions that can be used on both the left- and right-hand side of the frame and ideally get them to provide the project files with the individual layers so editors can animate them easily!
Here are a few examples of lower thirds from some recent projects:
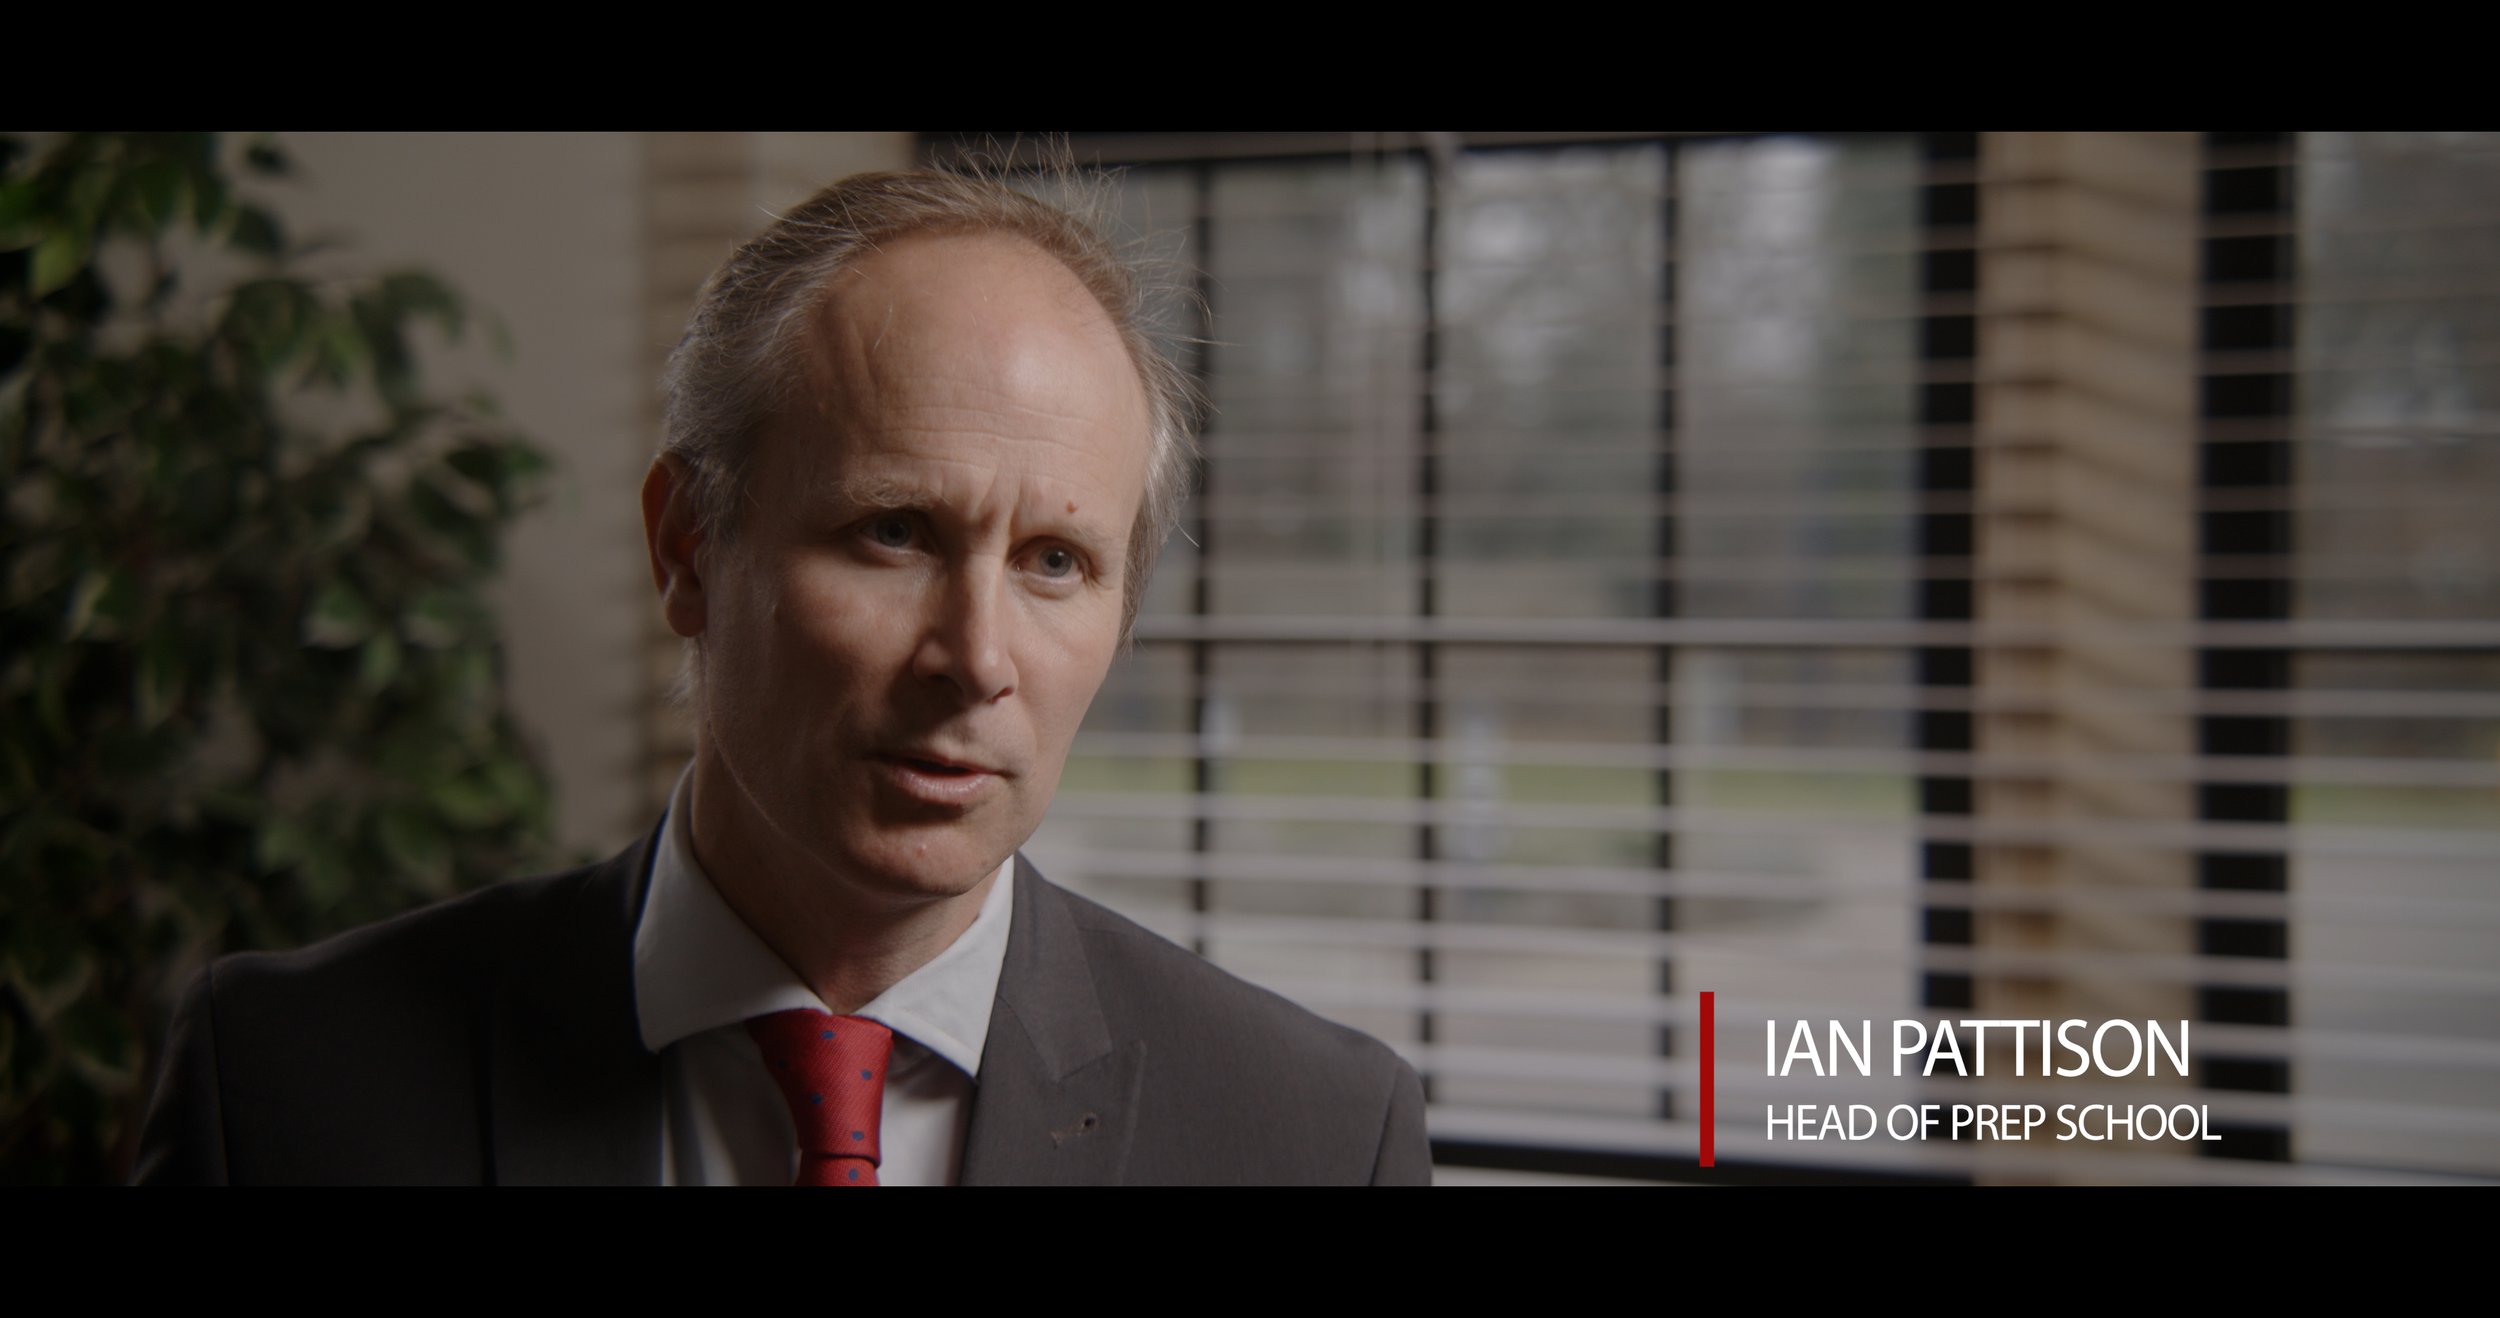

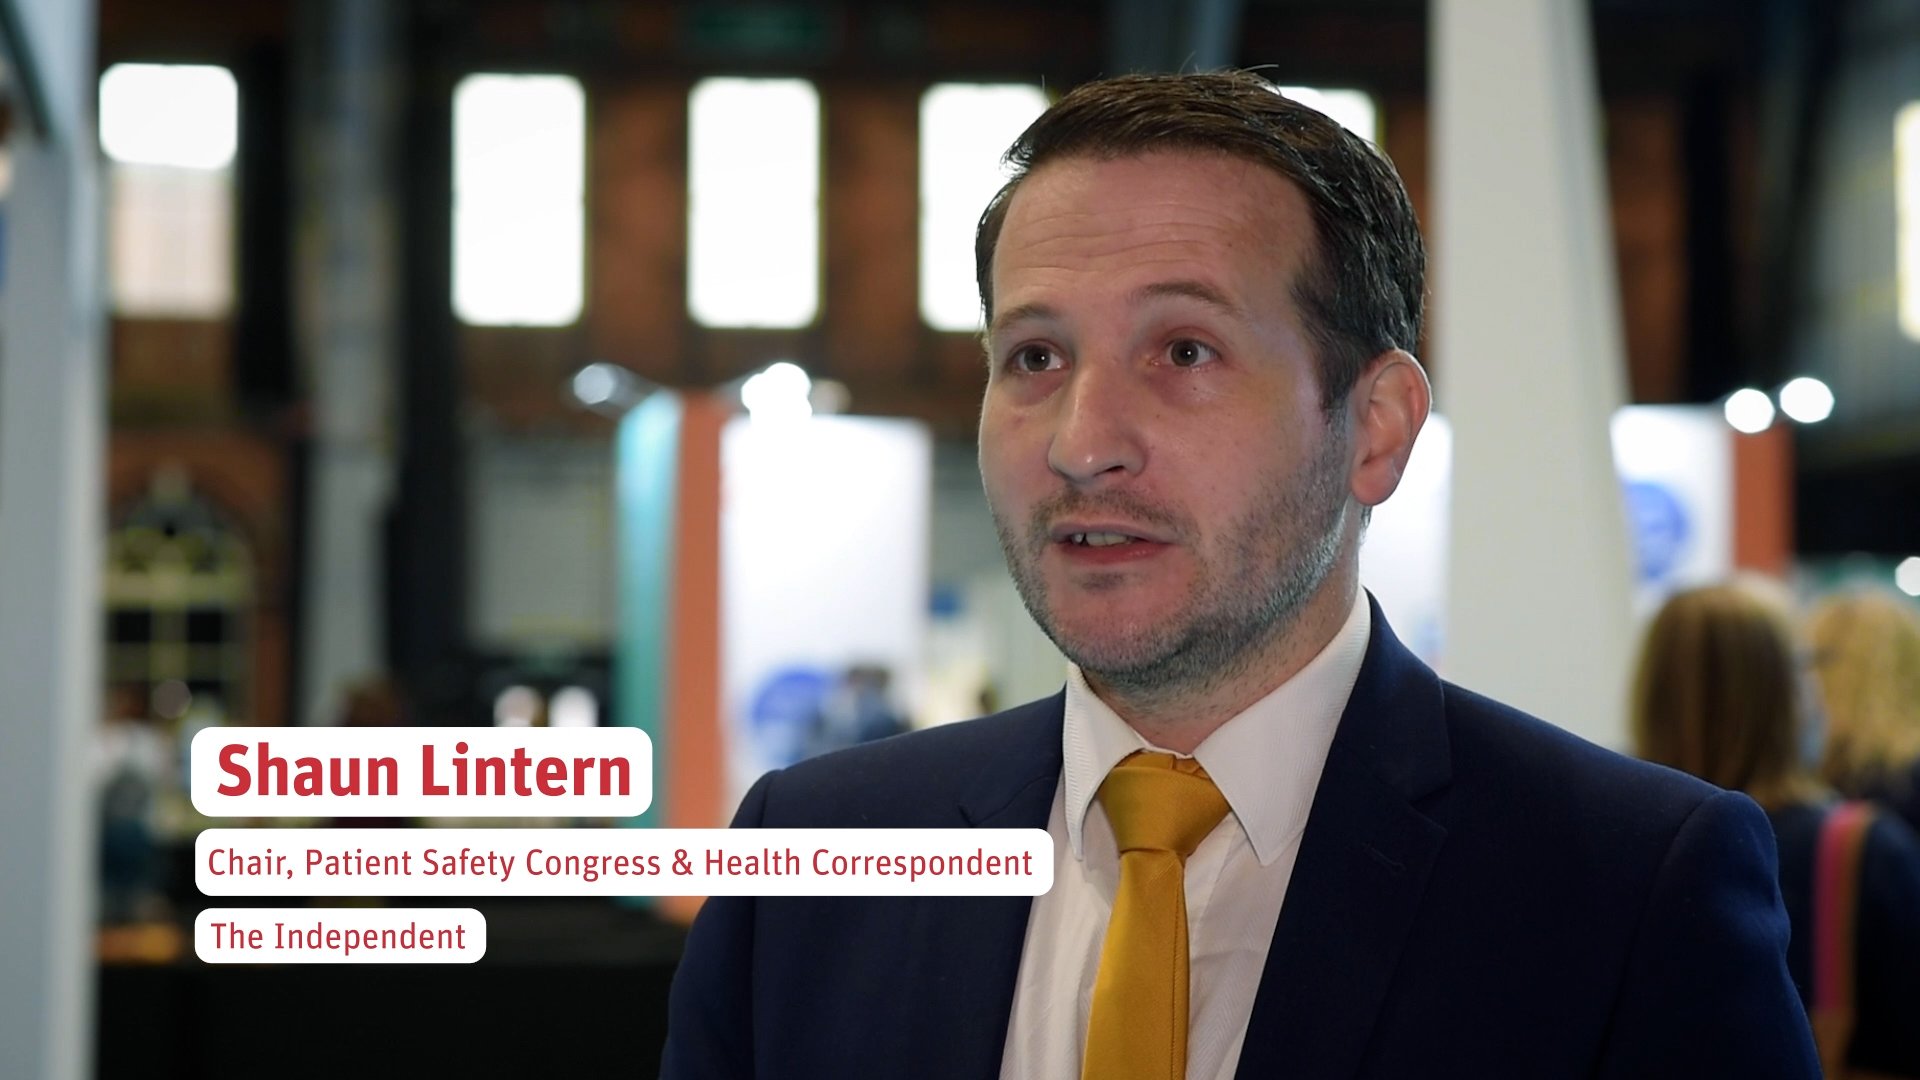
Once you explore this further, you’ll find there are so many possibilities out there for tailoring your lower thirds. Here are just a handful in action:


To be honest, I have barely begun to touch the surface here!
6. Add sound effects to your graphics and transitions
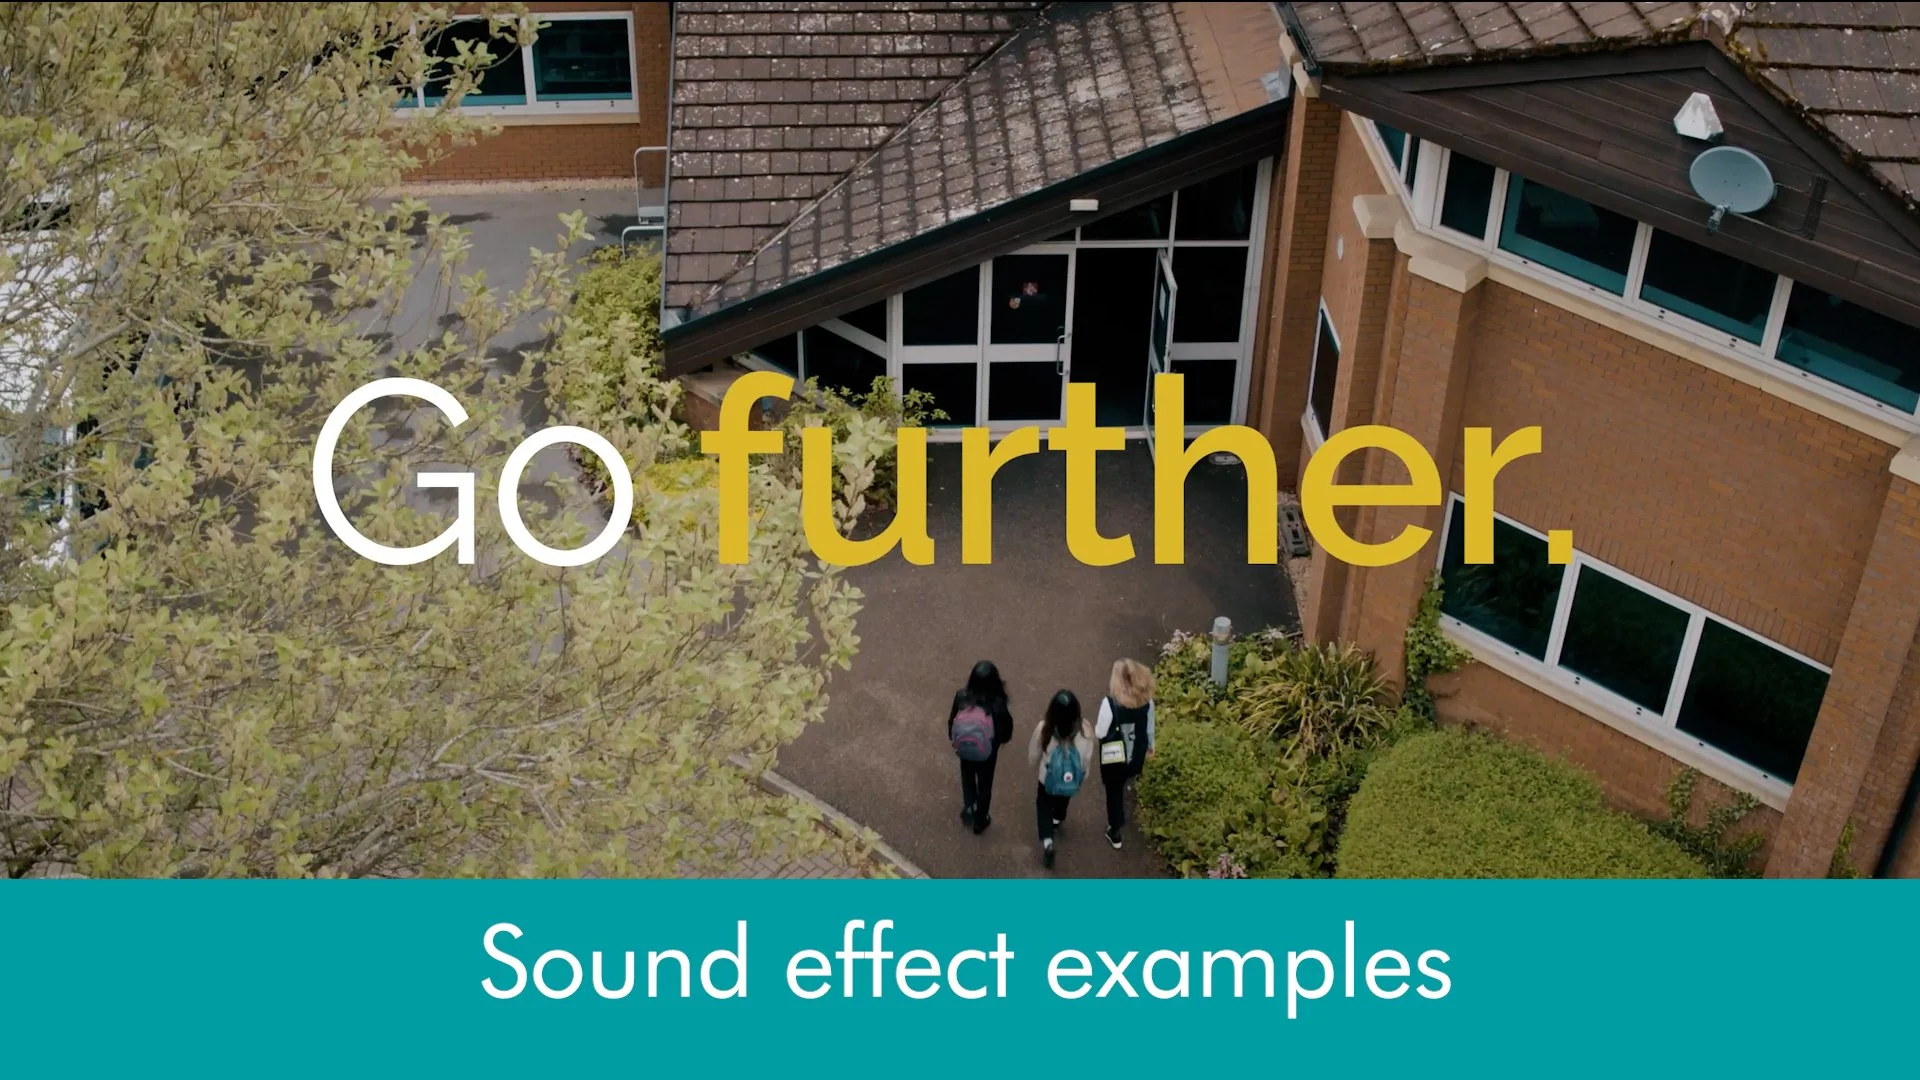
Here are some examples showing both options in practice.
Sources: Don’t Forget the Bubbles event material and school promotionals for MCN Productions
Another way to enhance your videos even further is to add sound effects! Whilst not suitable for every type of talking head video, if you’re trying to inject a modern feel to your subject or are promoting your content on social media, several sound effects could help you keep your piece light-hearted. Pops, whooshes and other similar sounds work especially well with text appearing on screen - particularly important if you’ve got important stats to get across. It can also add greater impact to transitions, especially if you’re going for more than simple cuts and dissolves. Sliding and warp transitions can work very well.
Once again, as with everything in video, how high-end you want to go will determine whether an editor creates the sound effects themselves or if a sound designer is brought on board to create and do a full mix.
7. Add subtitles
Lastly, this is a general point for how to improve most videos, but it’s particularly important for talking heads because our aim is to hold our viewer’s attention. If your audience is likely to watch your content on a mobile, possibly whilst they’re on their commute, it is so easy for them to get distracted! Also, it is sometimes not possible to watch videos with sound on or they can’t be heard easily if they’re in a noisy environment.
Besides being considerate on public transport (or anywhere for that matter), another reason for adding subtitles is to open your content up to a wider audience; those who may be hard of hearing or don’t speak English as their first language, for example. So, having subtitles on your videos is a no-brainer really. You have the choice of open captions, which means the subtitles are burnt into the video file and can’t be turned off, or closed captions where you have the choice about switching them on or off in your video player. Just inform your editor before they start work which you prefer!

An example of open captions, from T.H.I.N.K. escape room by The Business Creative

Youtube videos with closed captions will have this button enabled.
*Note - uploading videos to YouTube with closed captions involves uploading a separate caption file in addition to your video. It’s fairly straightforward, but worth bearing in mind if you’ll be uploading content to your channel yourself.
So, there you go! Hopefully these tips will help you to breathe some life into your talking head videos, no matter which you decide to use.
Before you go; if you’re going on camera soon to do an interview and you’re not sure what to expect, you should definitely check out my tips on how to prepare here!
Other articles that may interest you:
Ever wondered what goes on once all the footage is in the can? Here’s a brief overview of the video editing process.
Although the outlook is improving, there’s still a bit of uncertainty remaining with the pandemic. Here are some ideas for how marketers can create engaging video content whilst life isn’t completely back to normal yet!